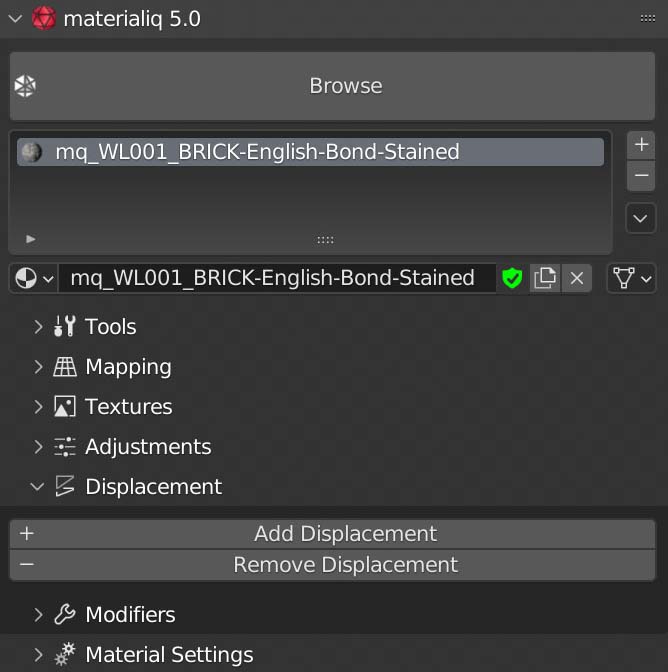
Panel Overview
Panel Location
The main materialiq panel is located in N-menu. It is the main way to access materials and related
features.
Browse and Spawn Materials
Lets you browse materialiq materials and HDRs with the
polygoniq asset browser. We cover filtering and how to use it in the previous
section. Material is assigned to the selected material slot. If there is no active object, material
is spawned to scene, accessible for assigning to objects later.
Assign material to specific faces
Add a new slot, spawn material to this slot, go to Edit mode (e.g. press Tab), select desired faces and assign selected slot to these faces.
Browse and Spawn Worlds
materialiq contains 31 HDRs from Greg Zaal. All of them have 4k
resolutions to save memory and shorten time spent loading them for rendering. These HDRs were named
according to perceived time of day for convenience. For example, "1300_Azure_Sun" is a HDR taken at
1 PM. HDRs starting with "0000" are generic ones that don't correspond to any time.
To spawn a world into your scene, use the polygoniq asset browser.
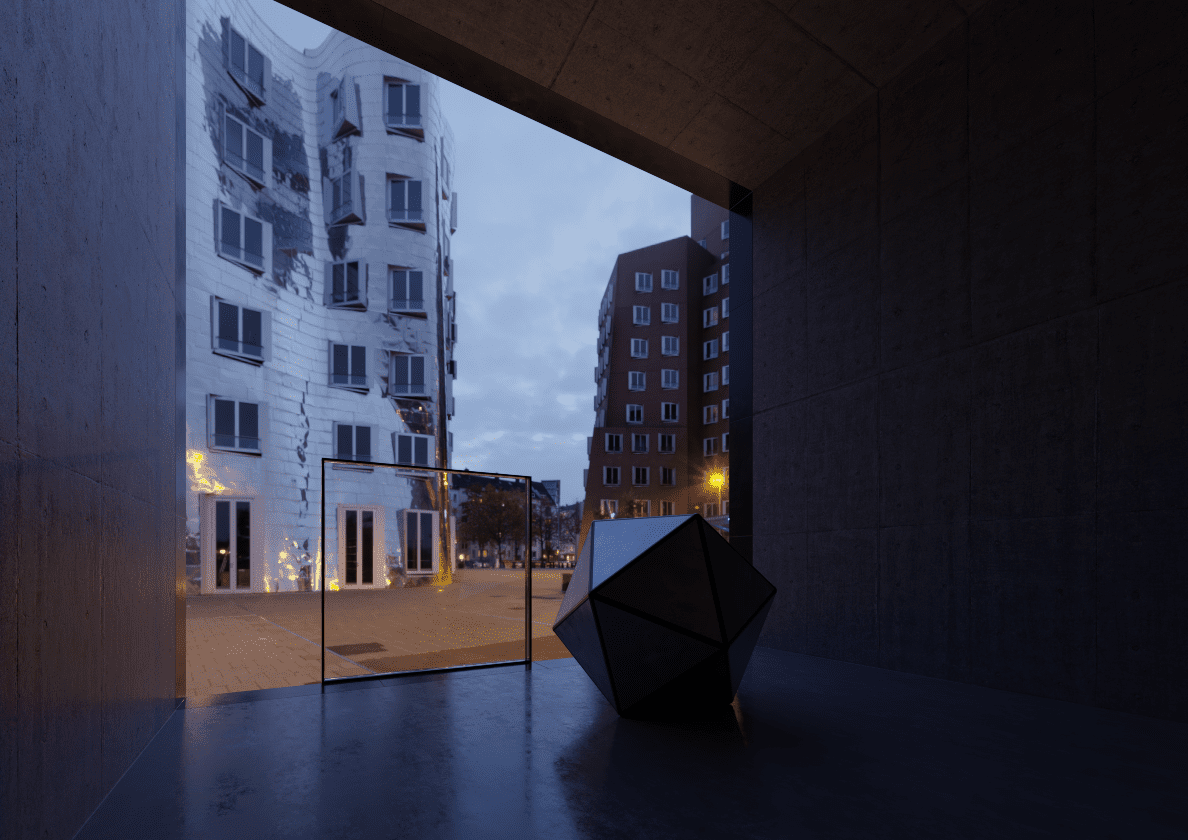
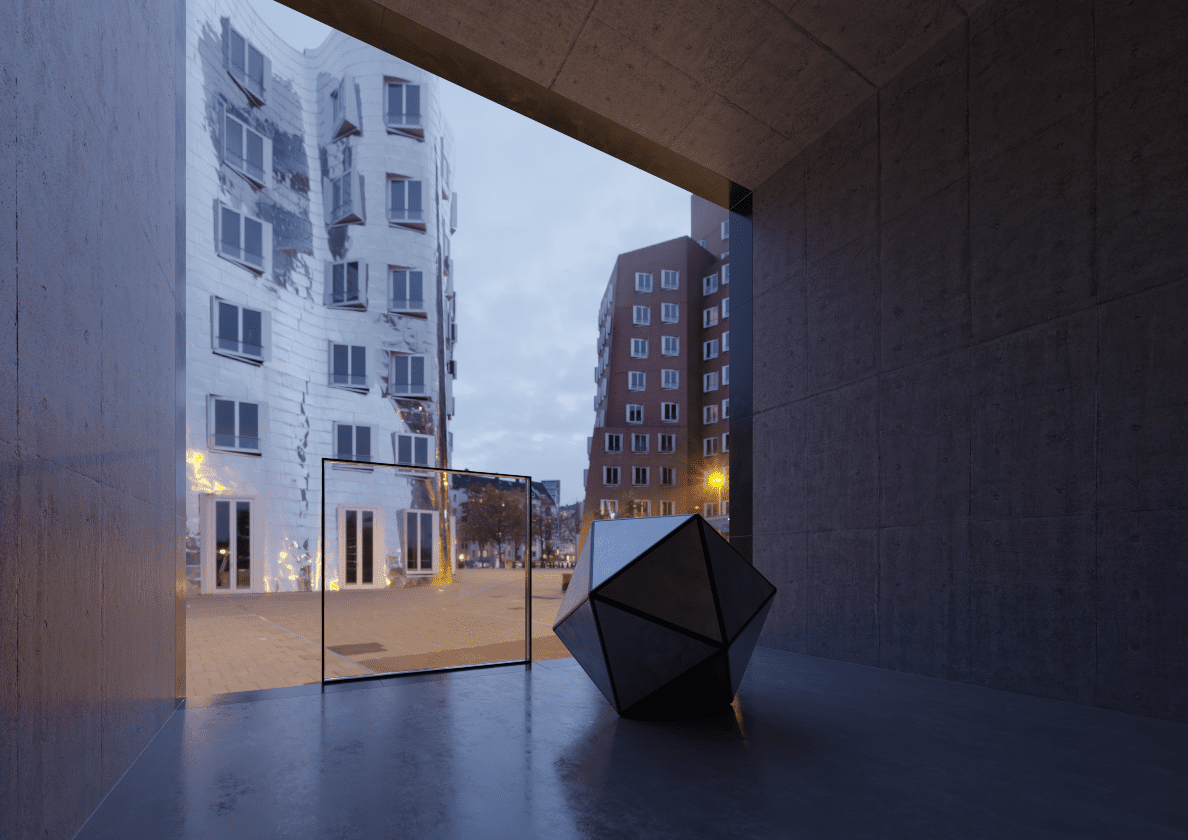
Exposure & Contrast of HDR
You might have to set the exposure higher with dark HDRs and lower with bright HDRs. Also sunny HDRs might work better with lower contrasts and overcast HDRs with higher contrasts.
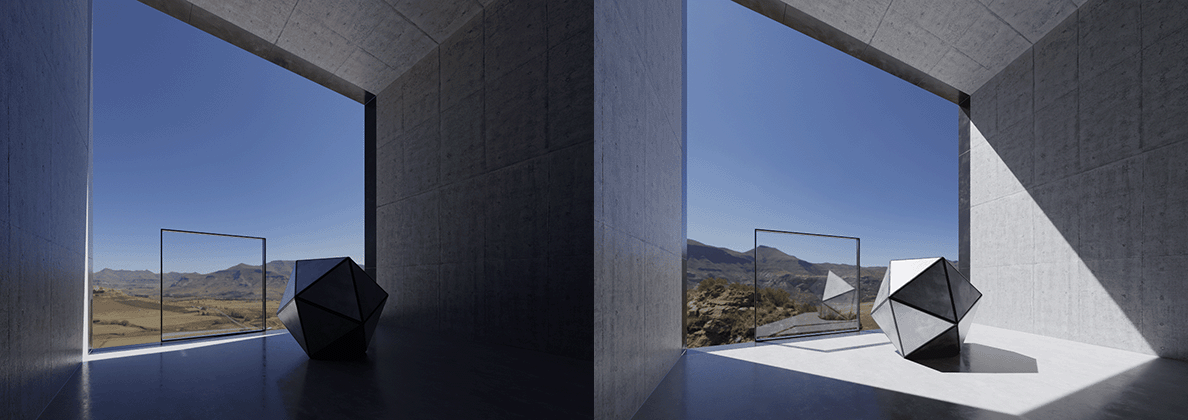
Rotation of HDR
Sometimes sun does not really hit the geometry well and the render comes out rather dark. This might be the intention but it is good to know that HDRs can be easily rotated.
In this case we can make sun to shine inside the room by rotating HDR along the Z axis.
Post-production background
Since the HDRs are 4k it might be good to swap them in post-production to prevent blurry appearance. 4096 pixels wide HDRs give you only 11 pixels per degree.
To make this easier, you can set the film to be transparent and save renders in RGBA png or other formats supporting transparency.
Tools
All materialiq general tools has are located in this section.
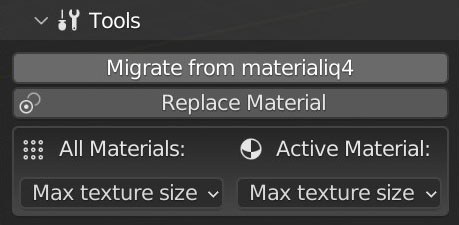
Migrate from materialiq4
Useful for converting your older scenes to the latest materialiq version. This operator looks at
all used materials and migrates the ones from materialiq4 to their equivalent in materialiq5.
Warning
If you customized materialiq4 materials your customizations will be lost after migration!
You will have to redo them.
Replace Material
Replaces occurrences of one material with another. Can be used on all objects in the scene or only on selected objects.
- Only Selected - replaces materials only in selected objects
- Update Selection - selects affected objects and deselects unaffected
Change Texture Resolution
Changes resolution of all materials, or just the active materials.

Use a smaller resolution when working with larger scenes
Textures in high resolution are performance demanding. That is why recommend using a small default resolution and increasing it in places close to camera or in focus. Read more about Memory and Performance
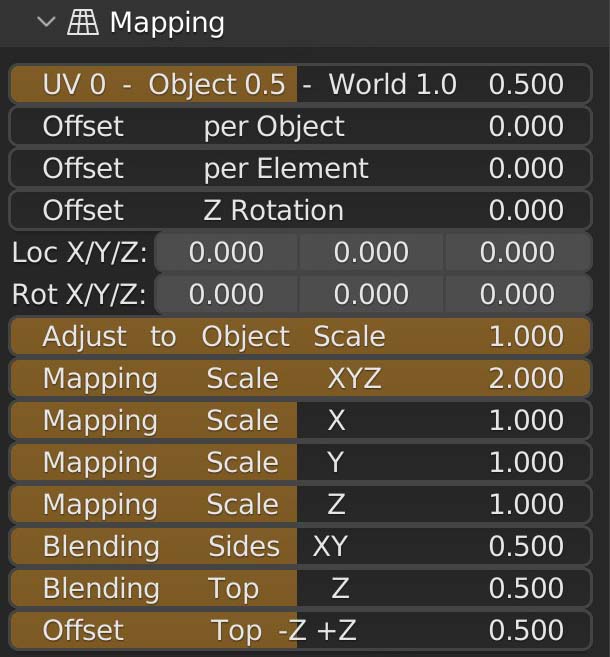
Mapping
All of texture mapping options are in one place. Read more about mapping in materialiq.
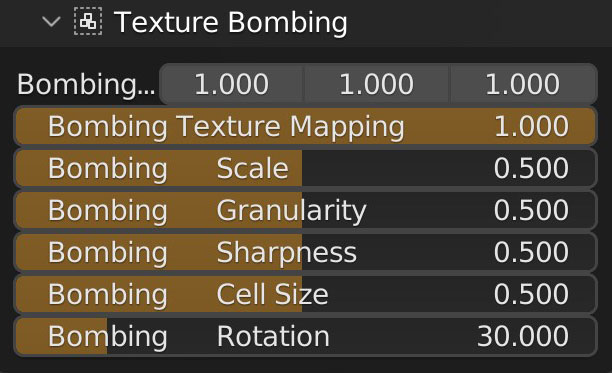
Texture Bombing
Texture bombing works by manipulating UVs. materialiq custom tri-planar projection
enables more randomization than Blender's box mapping and makes this possible.
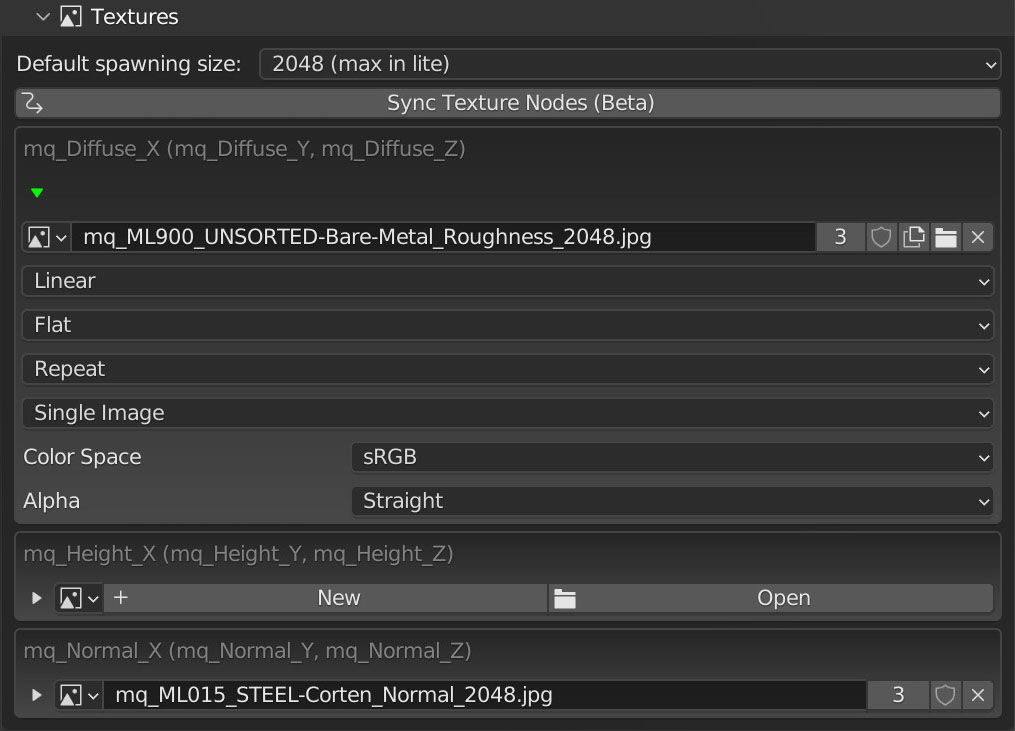
Texture Adjustments
Section where you can manipulate textures that are used by the material. You can also change the
Color Space, type of Projection, etc. When you make changes, we recommend to
Sync Texture Nodes.
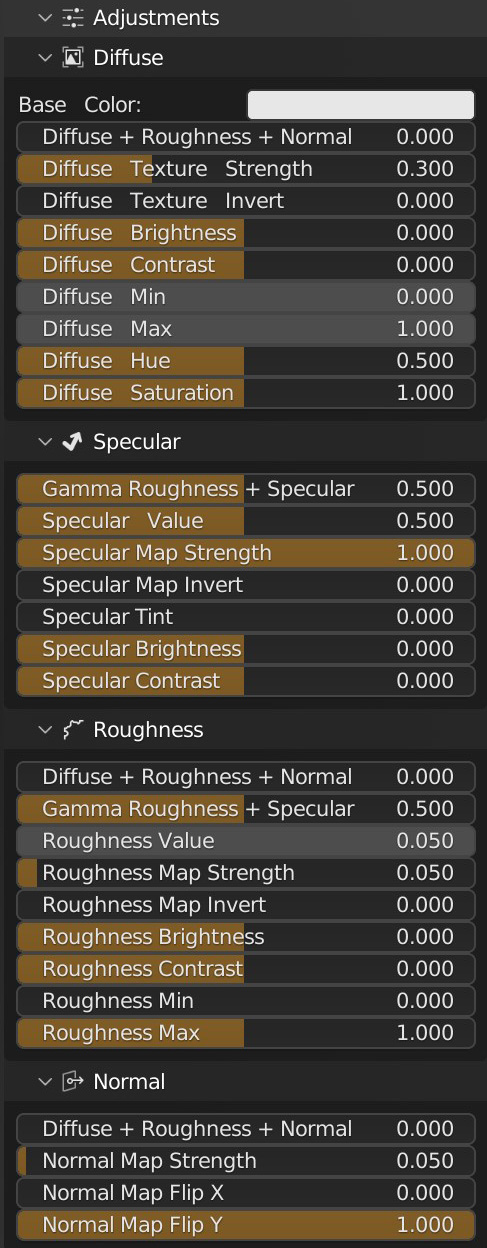
Material Adjustments
Want to make the material a little brighter, less reflective or more rough? This section of UI does that and more.
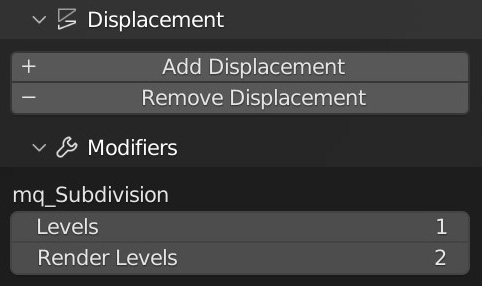
Displacement
Adjust the displacement settings in materialiq UI. Learn more about Displacement.
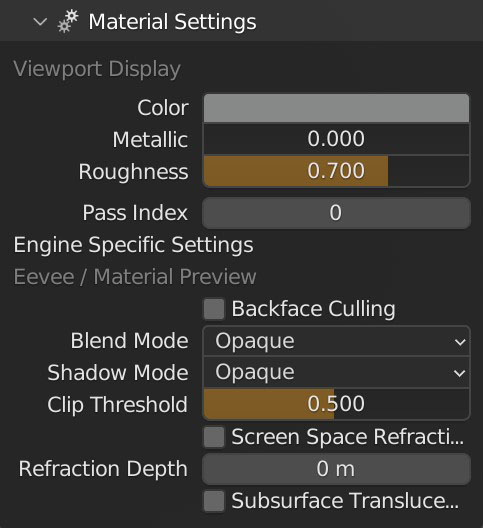
Material Settings
Customize how the material behaves in Viewport Display and while in Material Preview.
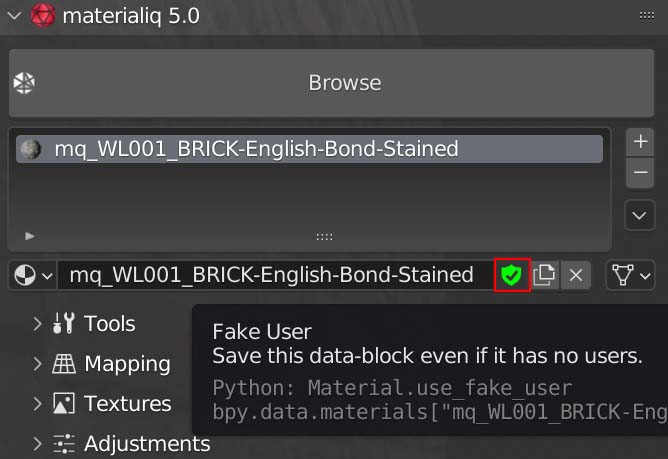
Fake User Enable / Disable
Enables or disables fake user for the selected material. Fake user prevents unused materials
from being deleted by Blender when saving your scene.
Memory and Performance
Large textures take up a lot of memory, so to help with lowering the memory requirement, you can
easily swap the texture resolution of materialiq materials to use smaller textures - both in
resolution and file size.
4096x4096 textures take 16x more memory than 1024x1024 textures
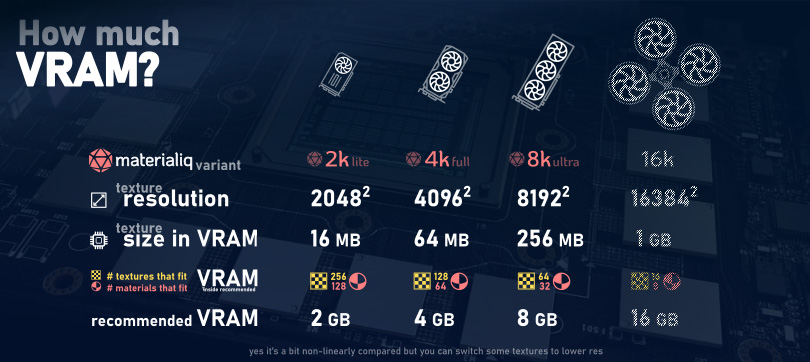
materialiq allows you to either change resolution of all materials or just the active material.
As an example this enables you to keep your scene at 4096 but switch the most prominent couple
materials to 8192.
Tip
When working with 8K materials, it is a good idea to have only a few materials visible before switching to Render View. It takes ~86 GB of memory to render the entire library! You can select meshes with materials you want to inspect closely, press Shift+H to hide everything else and switch to Render View (Shift+Z) after that. To go back you press Z or Shift+Z to stop the rendered preview and then Alt+H to unhide all.
This described probably the most useful sequence of shortcuts in Blender when it comes to working on larger scenes. One additional shortcut useful in this scenario is the Render Border Shift+B to select a small area to render so that the noise cleans faster which in turn allows you to make decisions faster and have the UI more responsive if using GPUs for rendering. You can clear (reset) the render border with Ctrl+Alt+B.