Mapping
The mapping of materials can be edited via materialiq UI, or node group in the Shader Editor.
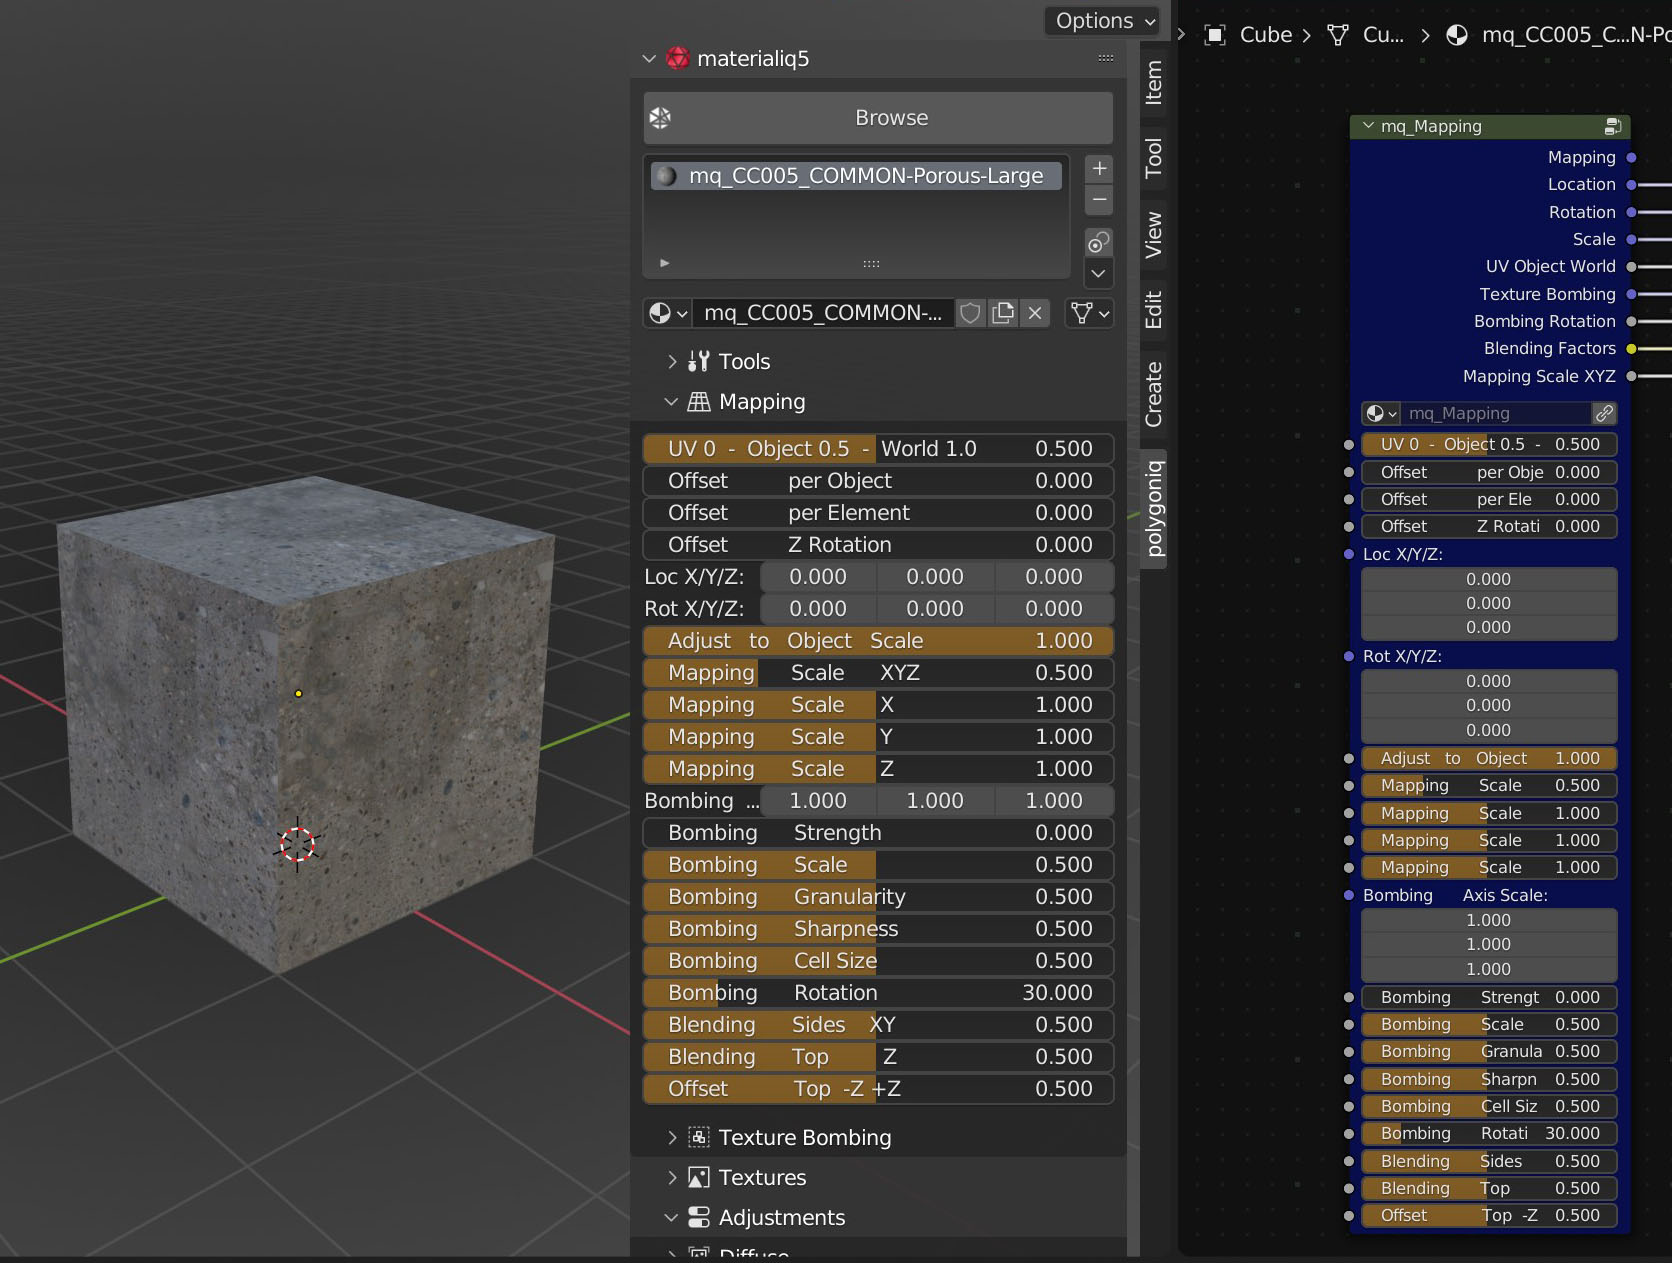
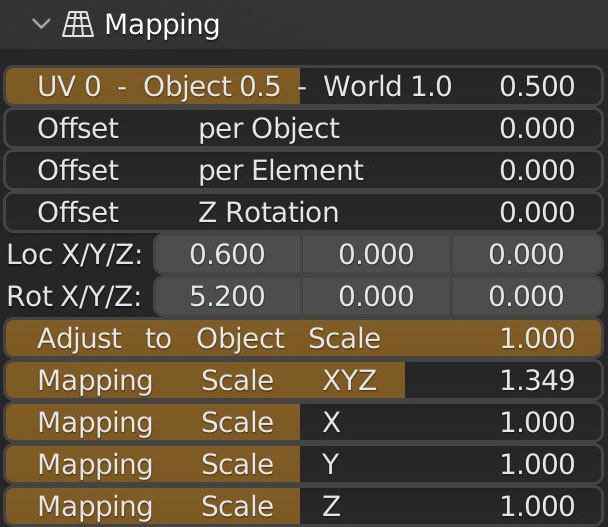
The first slider UV - Object - World switches between three distinct ways of mapping materials
to the object. UV mapping is used if value is set to 0, object mapping is
applied for value 0.5, and world mapping takes place if value is 1.
UV Mapping
Classic UV mapping enables more freedom and customization but it is harder to do right and usually needs to be repaired when mesh is edited. UV mapping is very useful on geometry where you would like to have different scales or rotations on various parts.
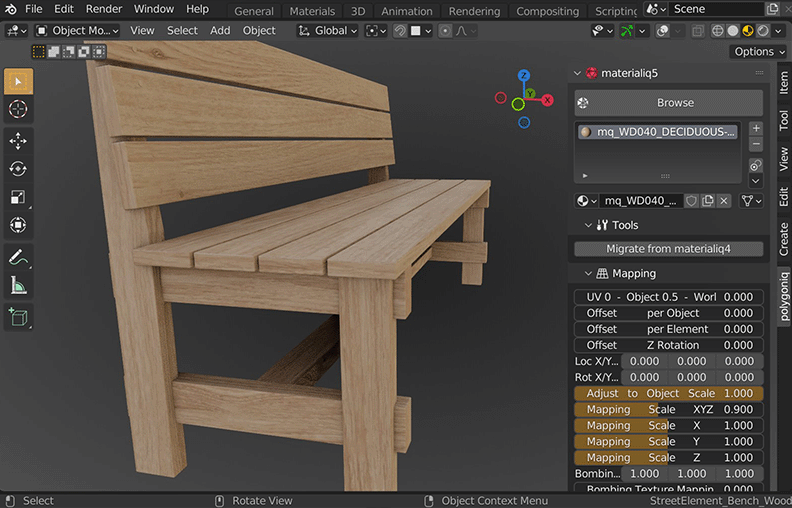
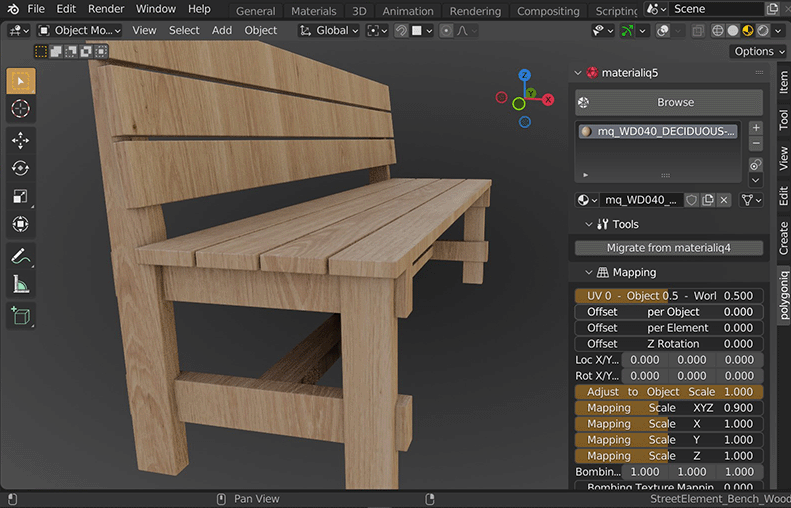
Anisotropic materials can be UV mapped quite easily in most circumstances. Some examples of anisotropic materials could be wood grain, brushed steel or some composite materials.
How to create a UV map
Simply select all in edit mode with A, press U and choose Smart UV project. Depending
on geometry and edge seams, this works in about 90% of cases.
Object Mapping
Object mapping is generated automatically and it does not require UVs but it is better to have some UVs for normal map tangents to work. It does not need to be manually set up or corrected when geometry changes.
Unlike UV mapping it is best with isotropic materials like concrete, aluminium, water, glass or stone. When it comes to anisotropic materials it can work well if the direction only goes horizontally or vertically.
Tip
You can rotate the mapping as you would like to get most out of generated mapping without need for UVs.
World Mapping
World mapping uses the scene's global 3D coordinates. This is useful for animations; if you move the object, the texture moves across it. It can be useful for letting objects appear or disappear at a certain position in space.
Adjust to Object Scale
Mapping scales according to object scale to avoid shrink and stretch.
Mapping Location/Scale/Rotation
Adjusts offset, scale or rotation of the mapping. It needs to be noted that object mapping rotations
leave sharp seams between different projection planes on objects without round edges.
You can control the scale of mapping all axis together by Mapping Scale XYZ or individually by
Mapping Scale X, etc.
Random UV map
To randomize UVs per element of the object, create 2 new UV maps by clicking twice on the +
icon. Then double click on the second one and rename it to "Random". Reason to have 2 UV maps is
to have normal maps working correctly because of tangents.
In 3D View, press U and use Project from View or Smart UV Project. Smart UV project
takes seams into account. Then in UV/Image Editor use UVs → Pack Islands. Lastly in
UV/Image Editor change pivot to Individual Origins and scale everything to 0 by pressing
S.