Installation
For one Blender Version (easy)
Video tutorial available
If you'd prefer to watch a video instead of reading, head over to our video tutorial on this topic.
Botaniq addon python code and assets are included in one big ZIP file. This entire file has to be installed for the addon to work. First download the ZIP file from BlenderMarket or Gumroad.
macOS 10 auto extracting ZIPs
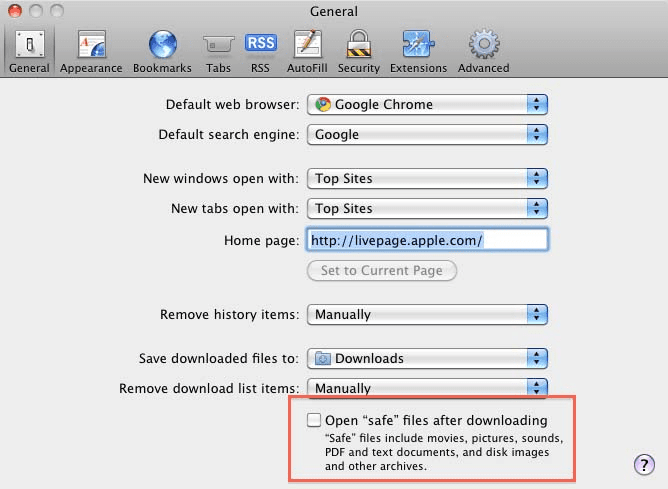
Safari might auto extract the ZIP file when downloading. This is undesirable and will prevent the addon from working.
To stop macOS 10 automatically unzipping your files:
- Go into Safari Preferences,
- Locate page titled General,
- Scroll down to the bottom,
- Deselect the box with the text 'Open safe files after downloading',
- botaniq will now be downloaded as a .zip file and can be installed on macOS 10.
 At this stage you should have an unextracted ZIP file ready on your hard-drive.
Open the specific Blender version you want to use with botaniq. Each Blender version
has its own directory for scripts and addons, this directory is not shared between them. In our example
we will use Blender 3.0.1.
One addon installation for multiple blenders
See custom addon path if you want to use botaniq in multiple Blender versions without duplicating data.
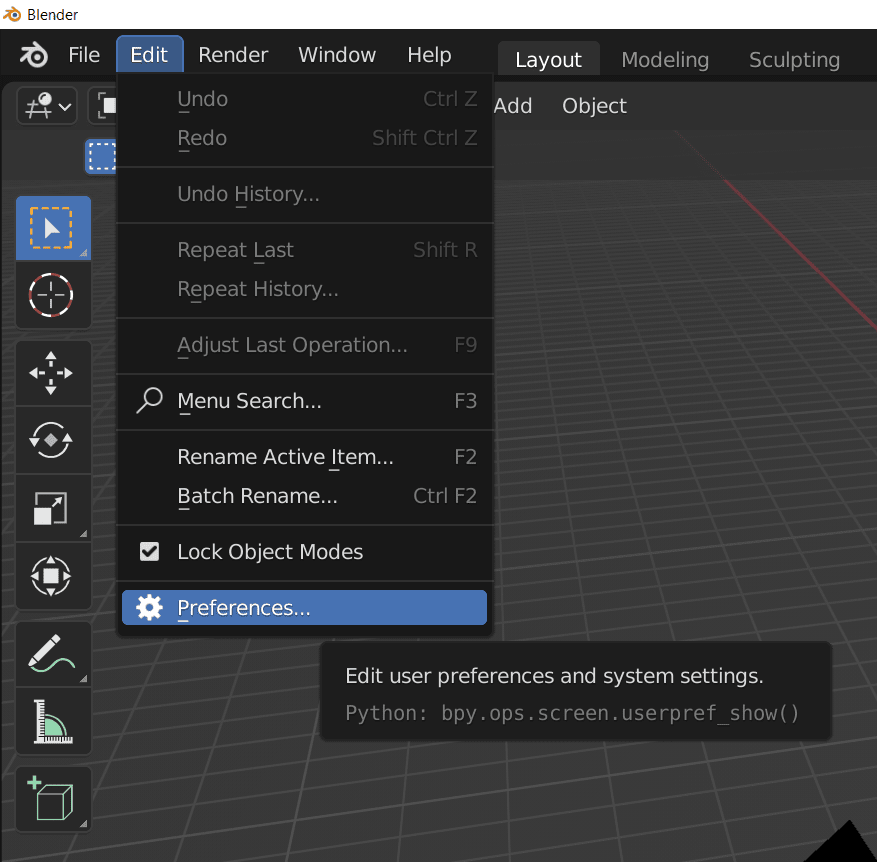
Open Preferences by navigating to Edit → Preferences:
Click Addons and then the Install... button:
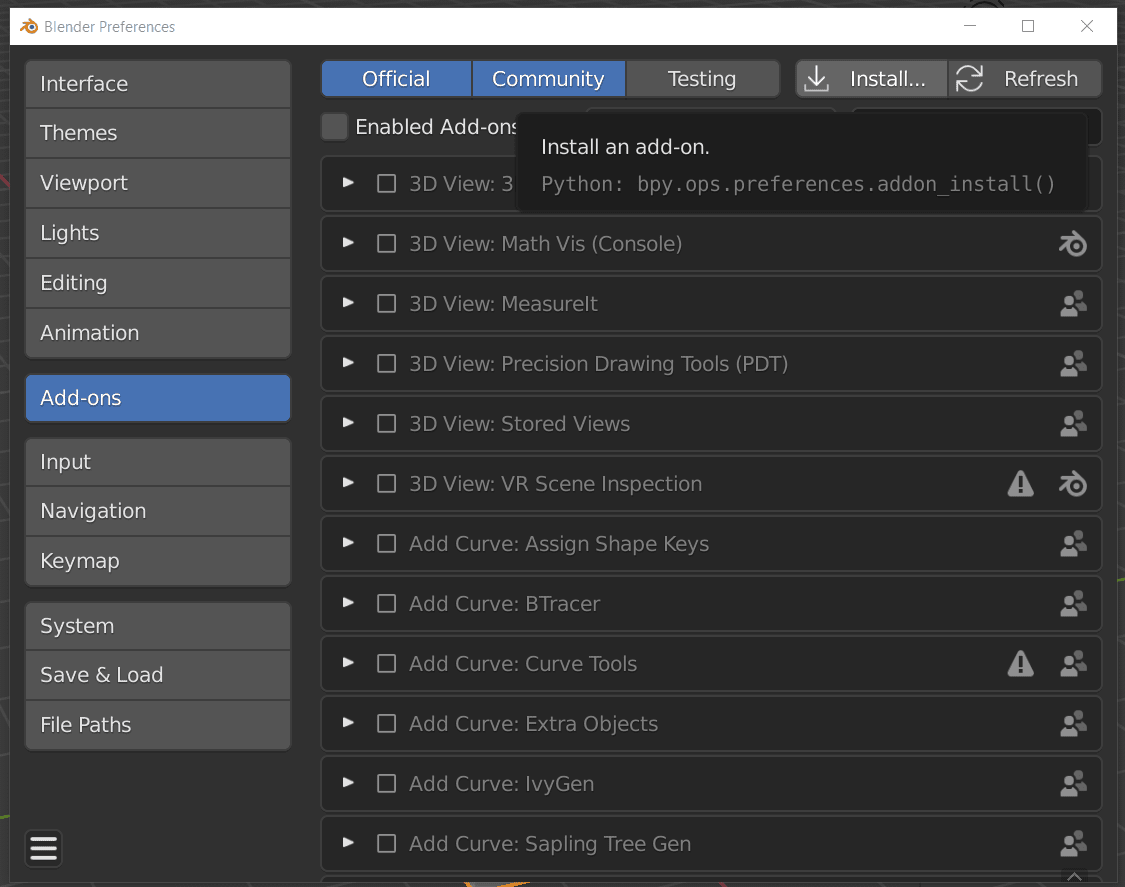
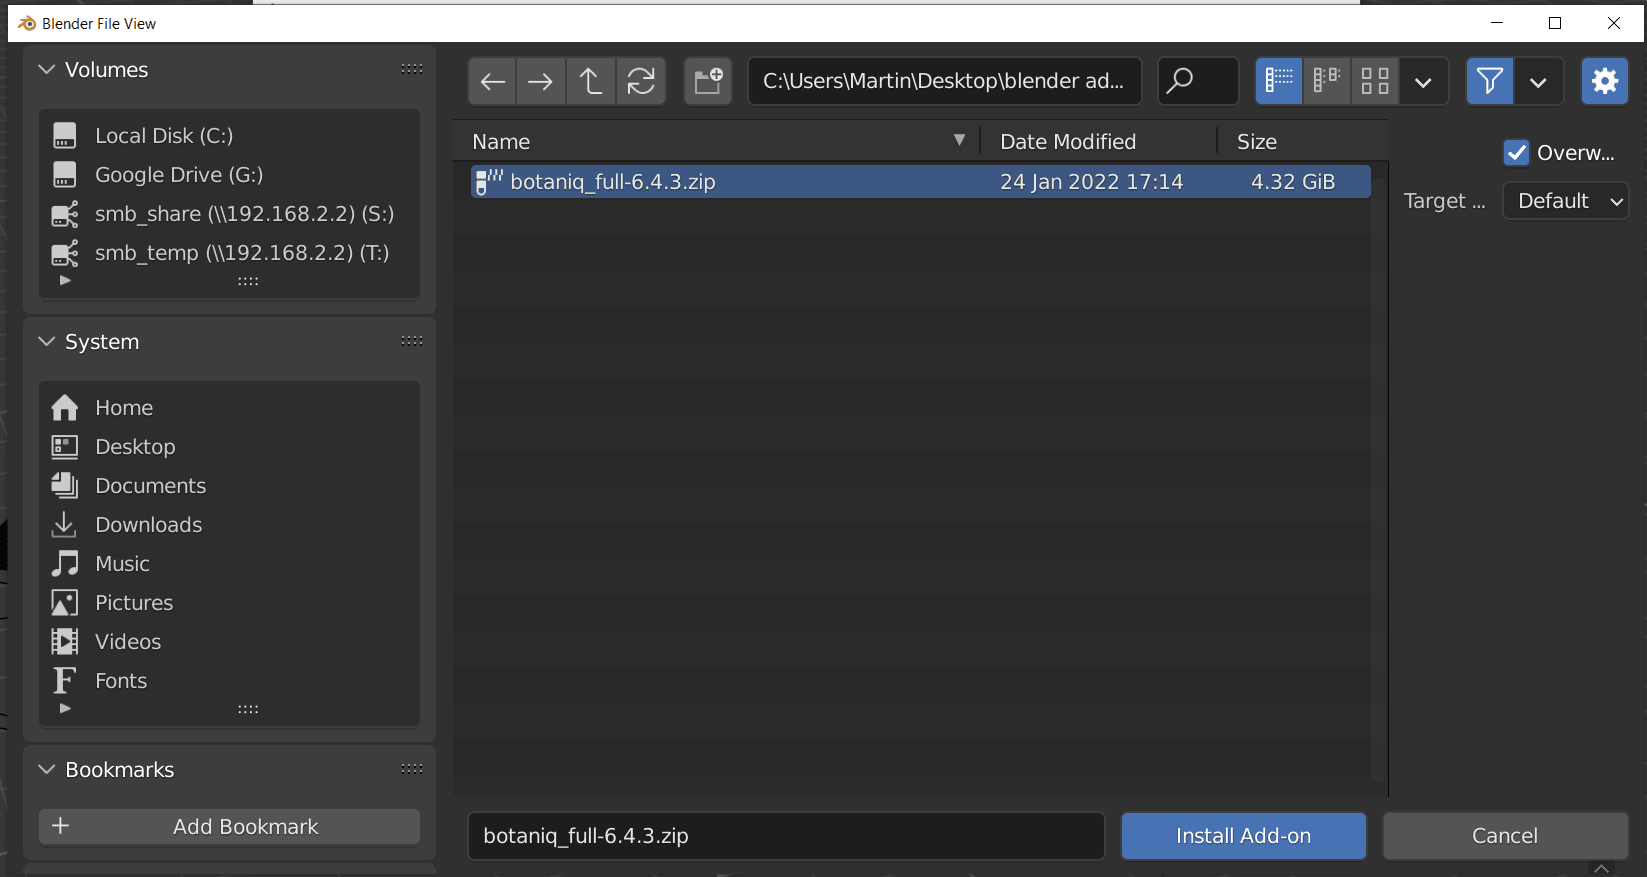
Navigate to the addon ZIP file you downloaded earlier, select it and click install.
Screen will freeze for a bit
It is normal for Blender to freeze for a little bit while the addon is installing. Blender is extracting all the meshes, textures and other data. Please be patient.
Interrupted installations have to be retried
If you stop the Blender process at this point your botaniq installation will be corrupted, you will have to remove it and start over.
Not having enough disk space results in a corrupted installation
If you attempt to install botaniq and do not have enough disk space Blender will still attempt to unpack it and fail. This results in corrupted installations, you will have to free up disk space, remove the corrupted installation and try again.
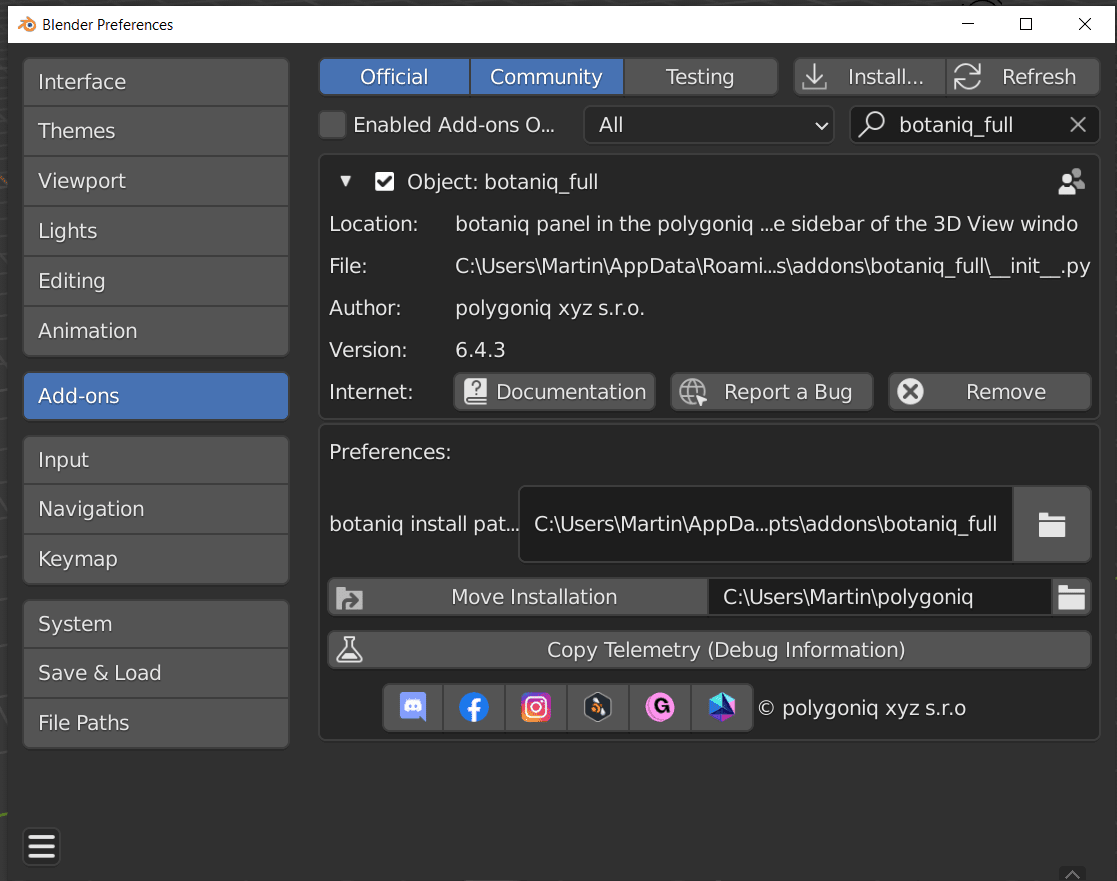
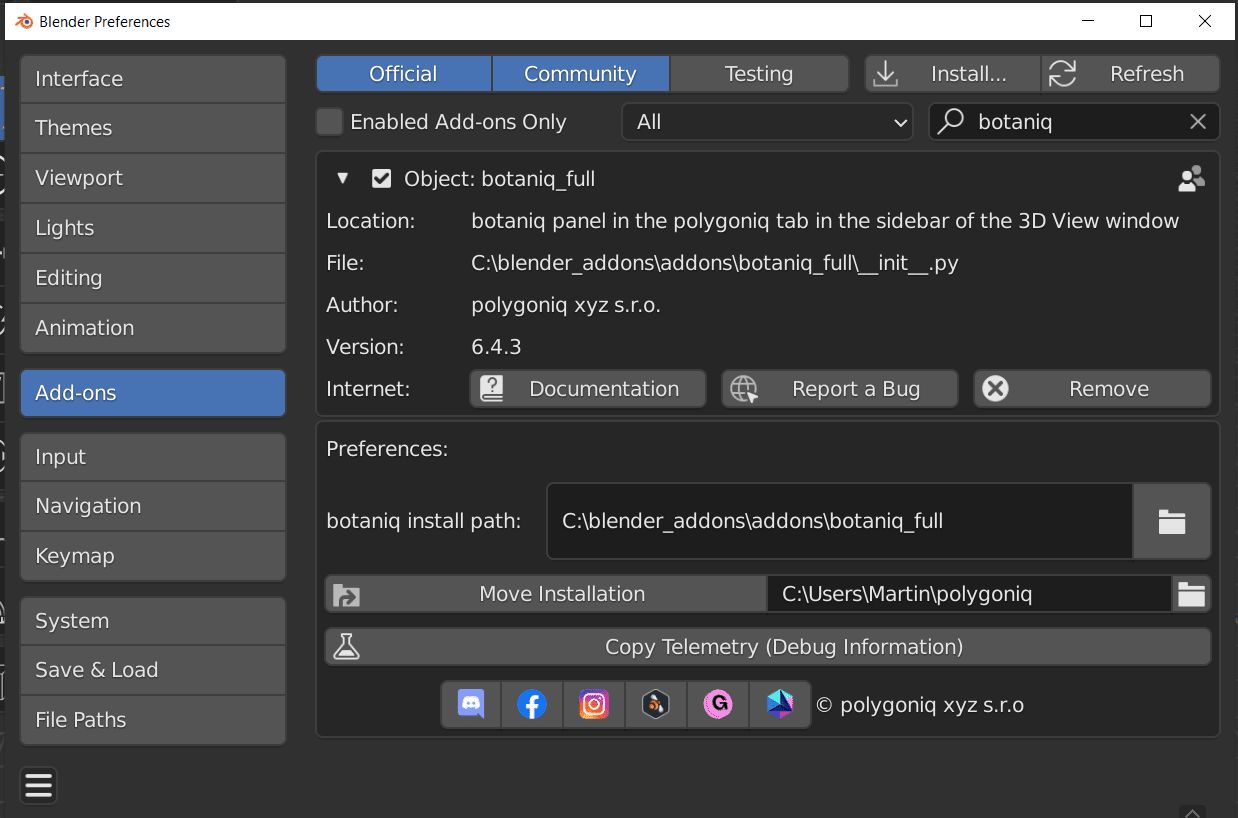
After the screen unfreezes, check the botaniq addon to enable it. The addon
preferences should show up and after this point you are ready to use botaniq
and make some epic scenes!
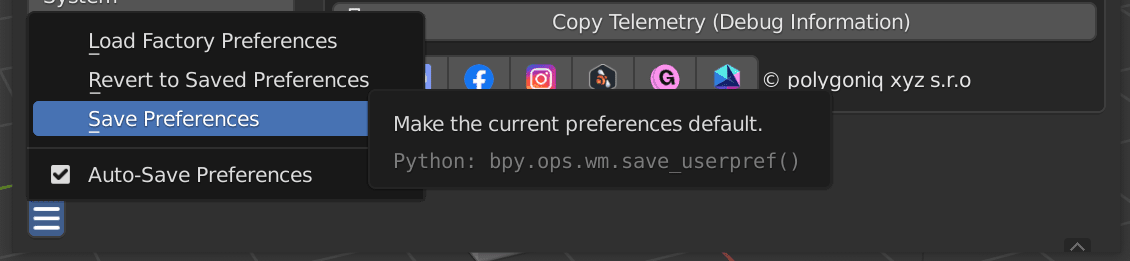
Save Blender preferences
Before you go enjoy botaniq, click the "hamburger" menu in the bottom left of
Blender preferences and select Save preferences. This will enable botaniq
on startup. If you omit this step and do not have auto-save preferences enabled,
botaniq would still be installed after starting Blender but would not
be enabled!
To a Custom Addon Path (advanced)
There are cases where you don't want to install the botaniq ZIP into Blender's
default script path:
- you want to use botaniq in multiple Blender versions,
- you want botaniq on a drive different from the Blender installation,
- you want botaniq in a specific path so that .blends shared with colleagues
work out of the box.
If any of those apply to you, you may want to go the more advanced route, extract the addon yourself and set the addon path to a path of your choice.
As a first step, make sure no version of botaniq is installed. You don't want to run into problems having multiple versions of botaniq in addon path.
Choose an addon path of your choice. Make sure this is on a hard-drive with enough free disk space.
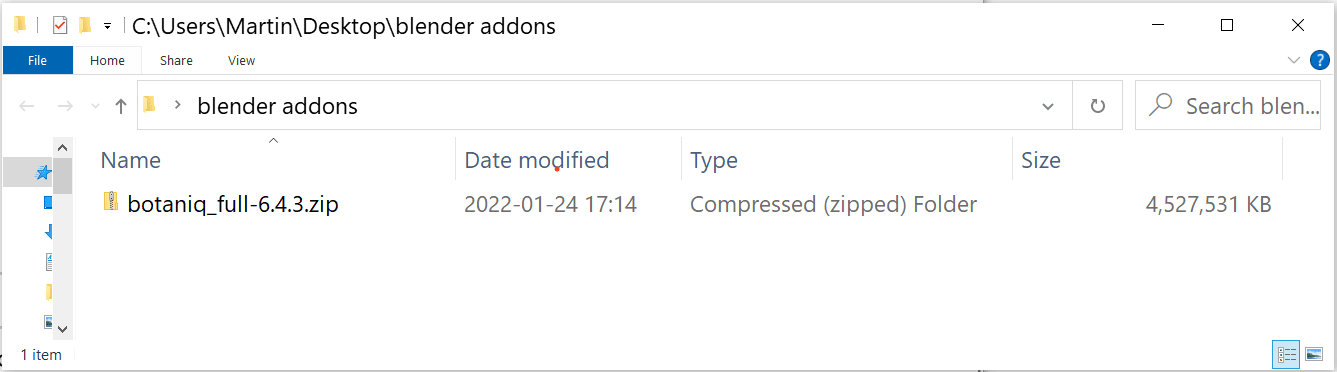
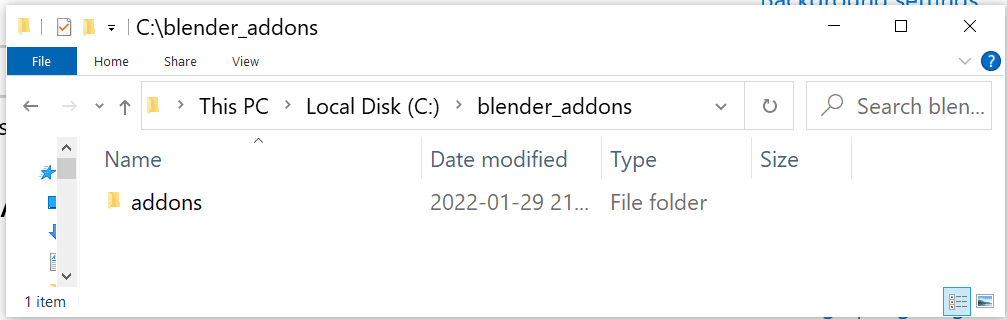
In our example we will use C:/blender_addons. Inside this directory create another directory
called addons. The end result should look like this:
Choose a simple path
We recommend not choosing a path with unicode characters or a path that is too long. Some Operating Systems have path length limits and if you run into those the addon won't be able to find some or all files! Choose something simple, ideally as short a path as possible...
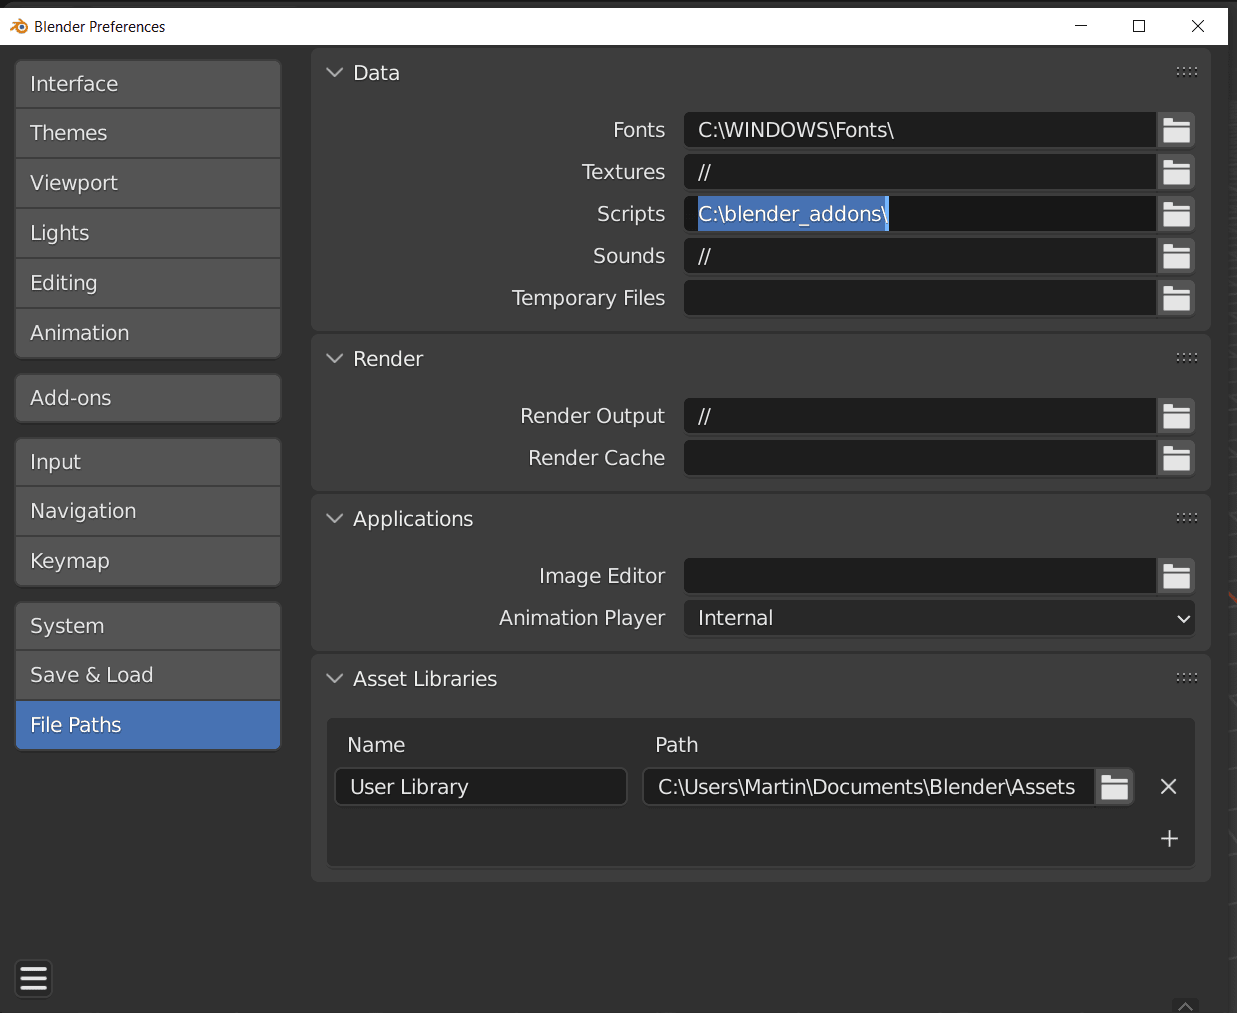
Go to Edit -> Preferences and select "File Paths" in the left menu. Look for the "scripts" path
and set it to the C:/blender_addons path.
You might need to reinstall addons
If you have addons already installed in the default path you have to reinstall them in the custom path. By changing the script path you are telling Blender to look for user addons elsewhere. The addons included with Blender will still be available but addons you installed yourself need to be reinstalled in the new path.
Choose the correct path
The folder at the chosen path must contain another folder called addons. Do not set it to
C:/blender_addons/addons, that would not work! It needs to be just C:/blender_addons.
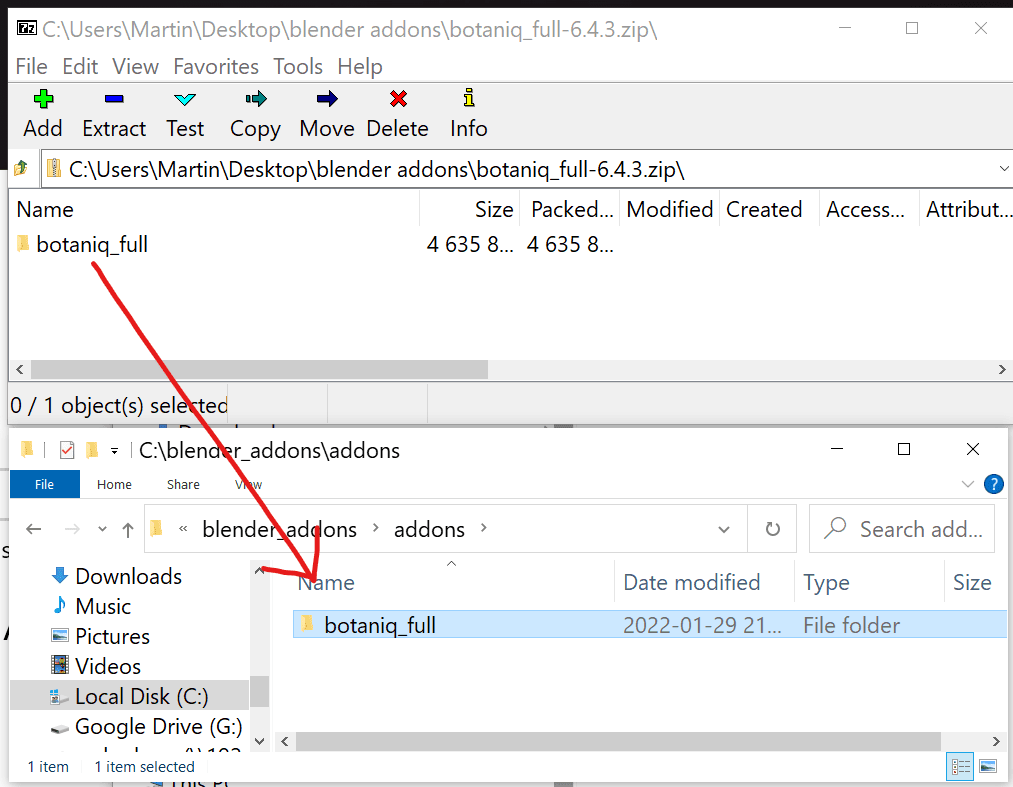
Now extract the botaniq ZIP in such a way that the folder inside the ZIP ends up inside
C:/blender_addons/addons/.
Install button does the same as extracting
Instead of extracting the ZIP to the custom path you can hit the Install... button in Blender.
In our experience extracting with 7zip or a similar tool is faster, especially for large addons.
Now restart Blender, then go to the Addons menu in Preferences, hit Refresh and botaniq
should appear.
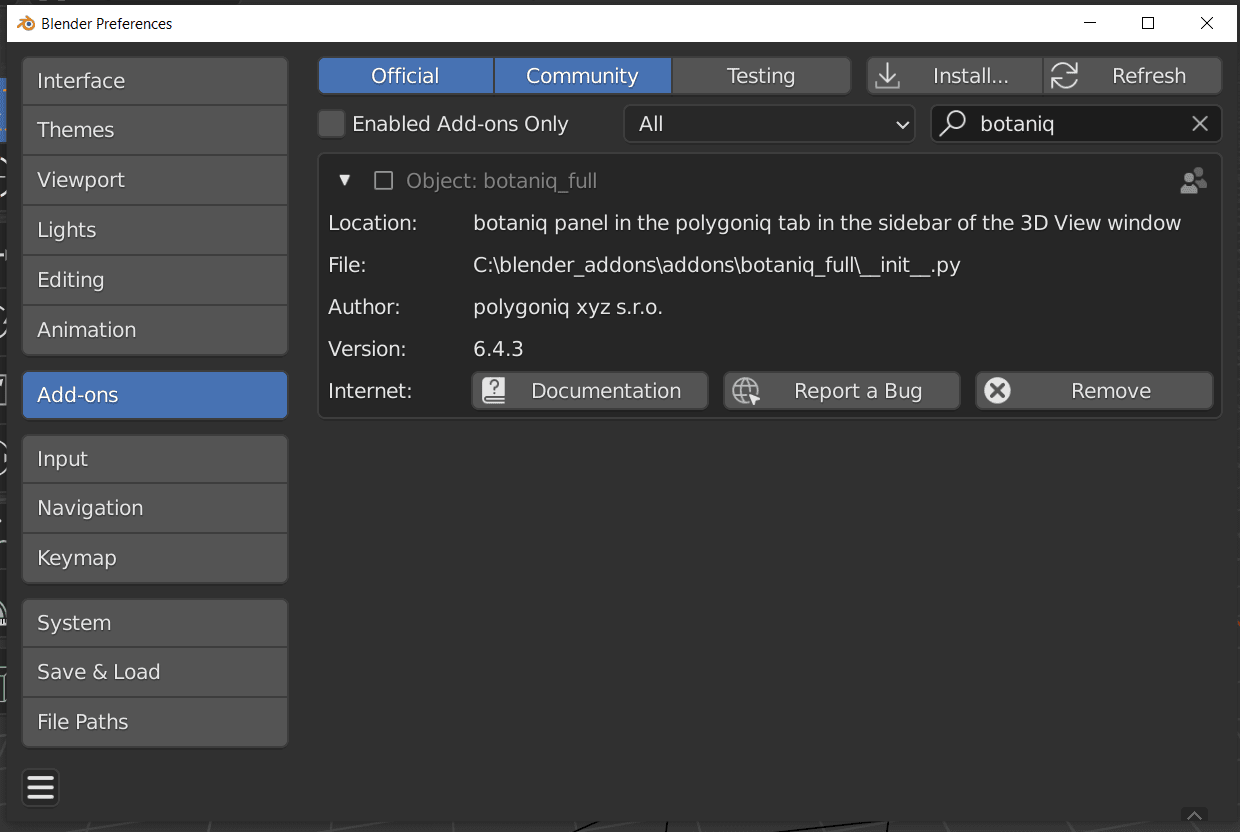
Enable it via the checkbox:
And voila! You have installed botaniq to a custom path. If you set up the same Scripts
filepath in other Blender versions you may share botaniq or even other addons across different
Blender versions.
Move Installation (advanced)
As an alternative you can use the Move installation operator that can be found in botaniq
addon preferences. This moves just the assets, leaving the addon python source code in the original
path. If you attempt to move the installation to a destination that already contains botaniq,
the installations will be merged.