Optimization
Linking assets
We go through great lengths to allow linked assets. We heavily recommend you link by default and only convert to editable when you need to make changes. There are several advantages in favor of linking:
- your .blend scene file will be smaller
- RAM or VRAM usage might be lower during renders (if you use the same asset multiple times)
- get fixes and upgrades in your scene when you upgrade botaniq and reload
Switching between linked and editable
botaniq provides operators to switch between editable and linked assets. That
way you can experiment without bringing you RAM and hard-drive usage up irreversibly. Keep in
mind that if you convert to linked, all local changes will be lost!
Smaller .blend files
Let's go through a small exercise to outline scene file size differences between editable and
linked assets. For our testing purposes we will be using Blender 3.0.1 with factory settings.


- (optional) Disable File compression in Blender (Preferences → Save & Load → File Compression). Everything here applies even with compression but results will be more pronounced and predictable without it.
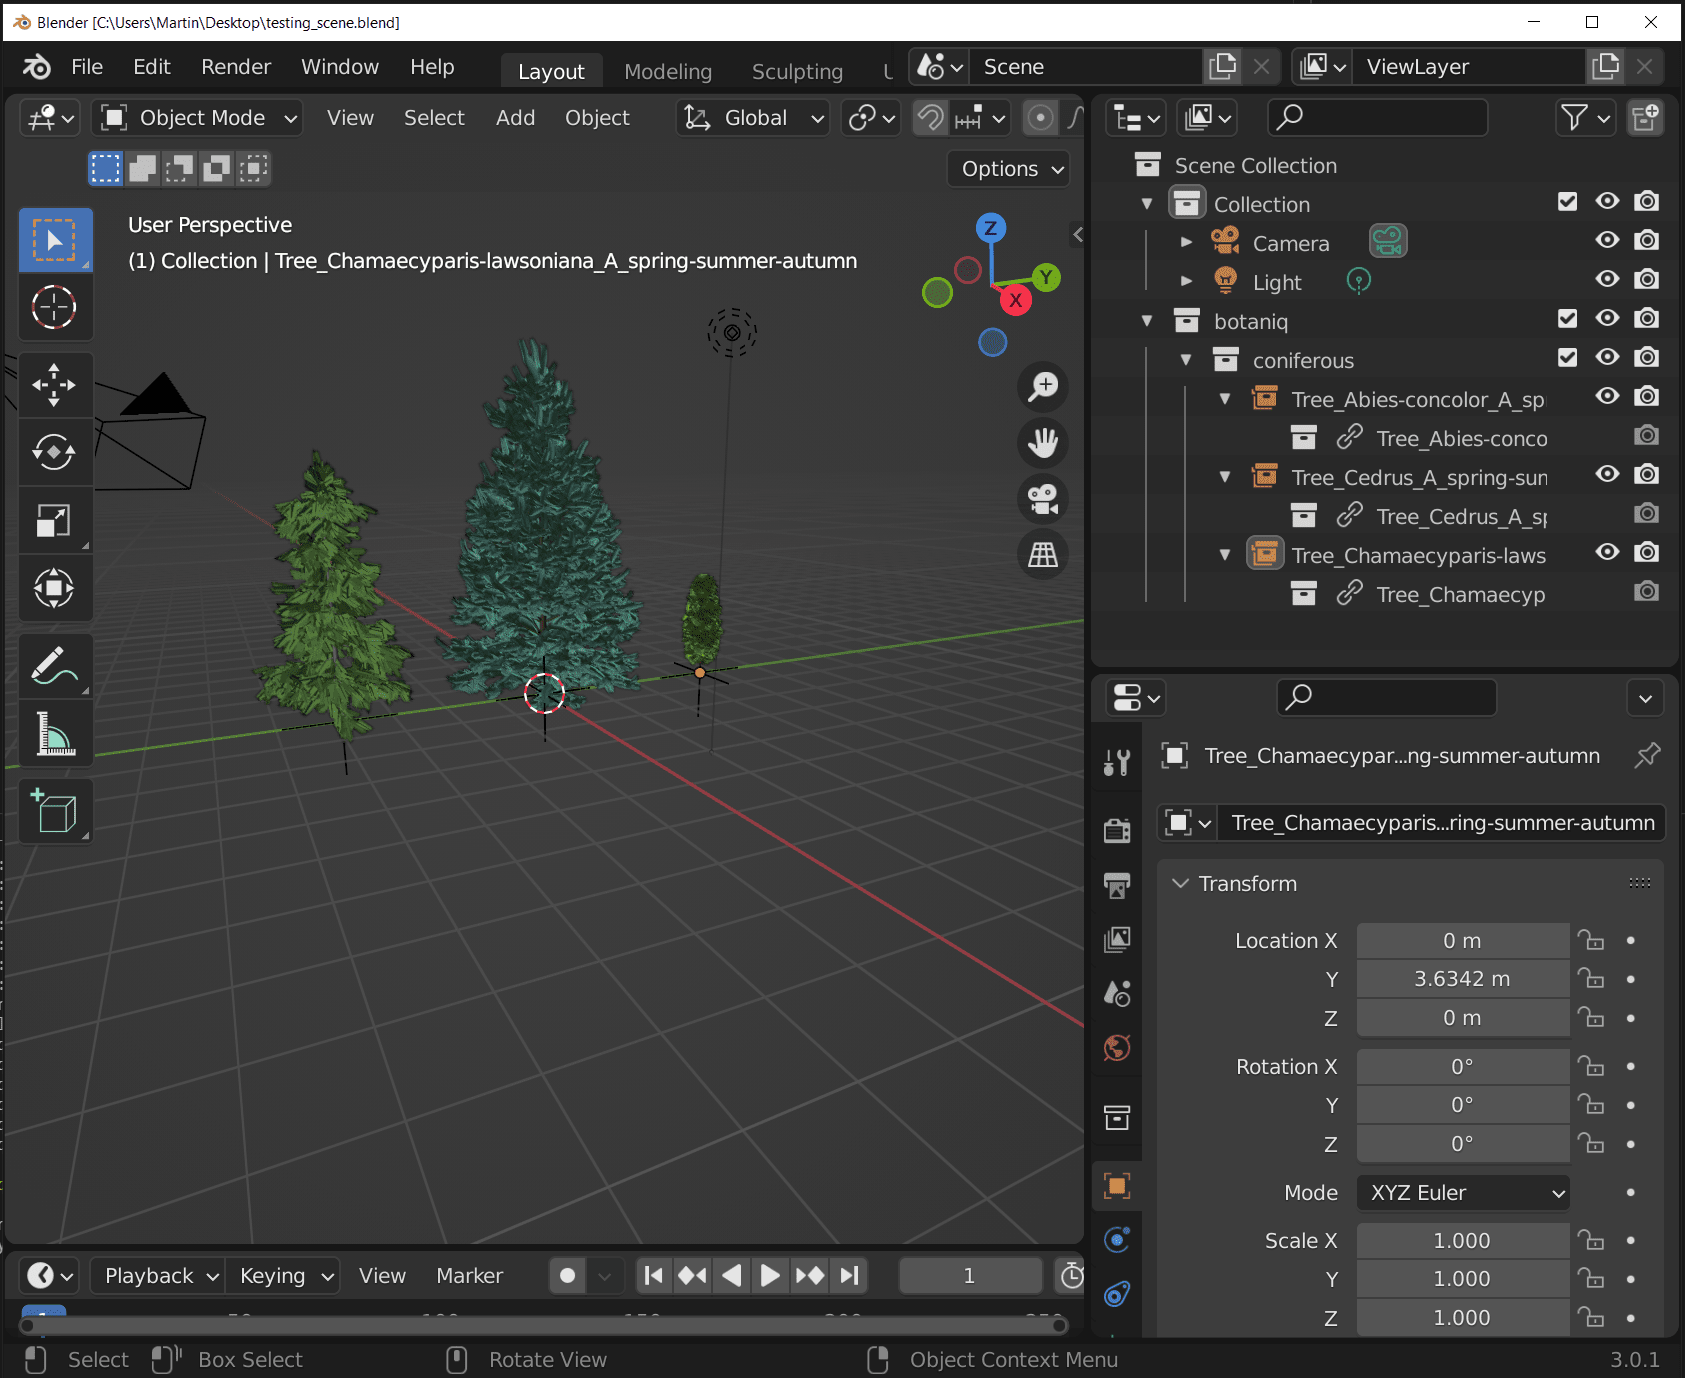
- Open Blender and save the default scene (with default cube) as
testing_scene.blend. It should have roughly100 kB. - Now spawn 3 different trees as linked. Save the blend. Observe that the file is around
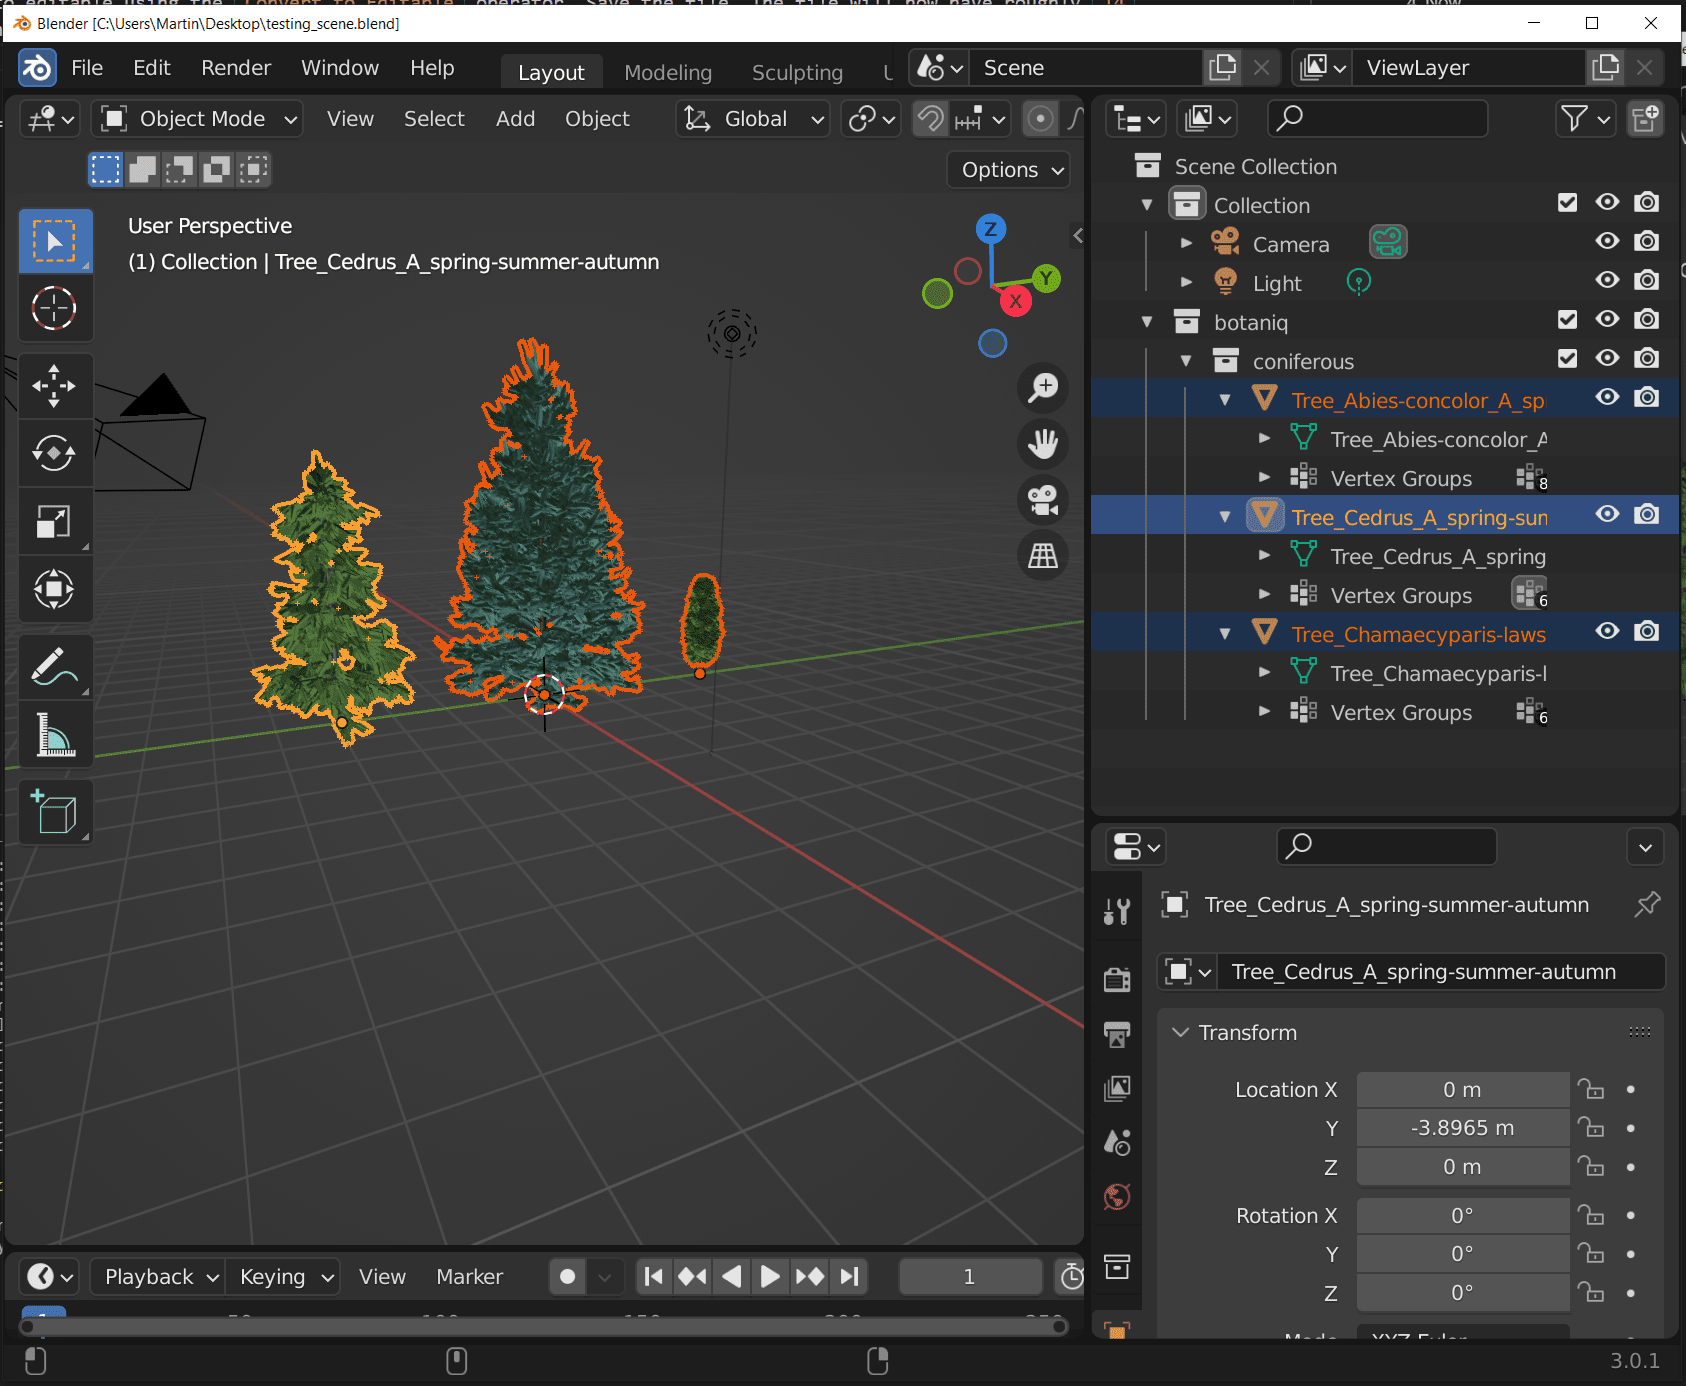
108 kB. The additional trees take almost no extra space on hard-drive. - Now convert the 3 trees to editable using the
Convert to Editableoperator. Save the file. The file will now have roughly14 MB. The specific size depends on which trees you chose to spawn. The point is it will grow noticeably. - Now click File -> External data -> Pack Resources. This will pack external files into the scene.
In this instances it's mainly textures. The file will grow to roughly
18 MB.
As you can see, keeping the assets linked makes scene files much smaller. With a complex production scene the file sizes would be even larger. This greatly helps when collaborating with others, especially when using Google Drive, OneDrive or other file sharing solutions. You want to speed-up file transfers are much as possible.
Lower RAM / VRAM usage when rendering
Similarly to the previous example we will use a testing scene with several trees and compare RAM usage when rendering with cycles. In our example we will use CPU rendering with the Cycles renderer. Results are similar when rendering on the GPU with CUDA, Optix or HIP.
- Open Blender, spawn several instances of the same tree to the scene.
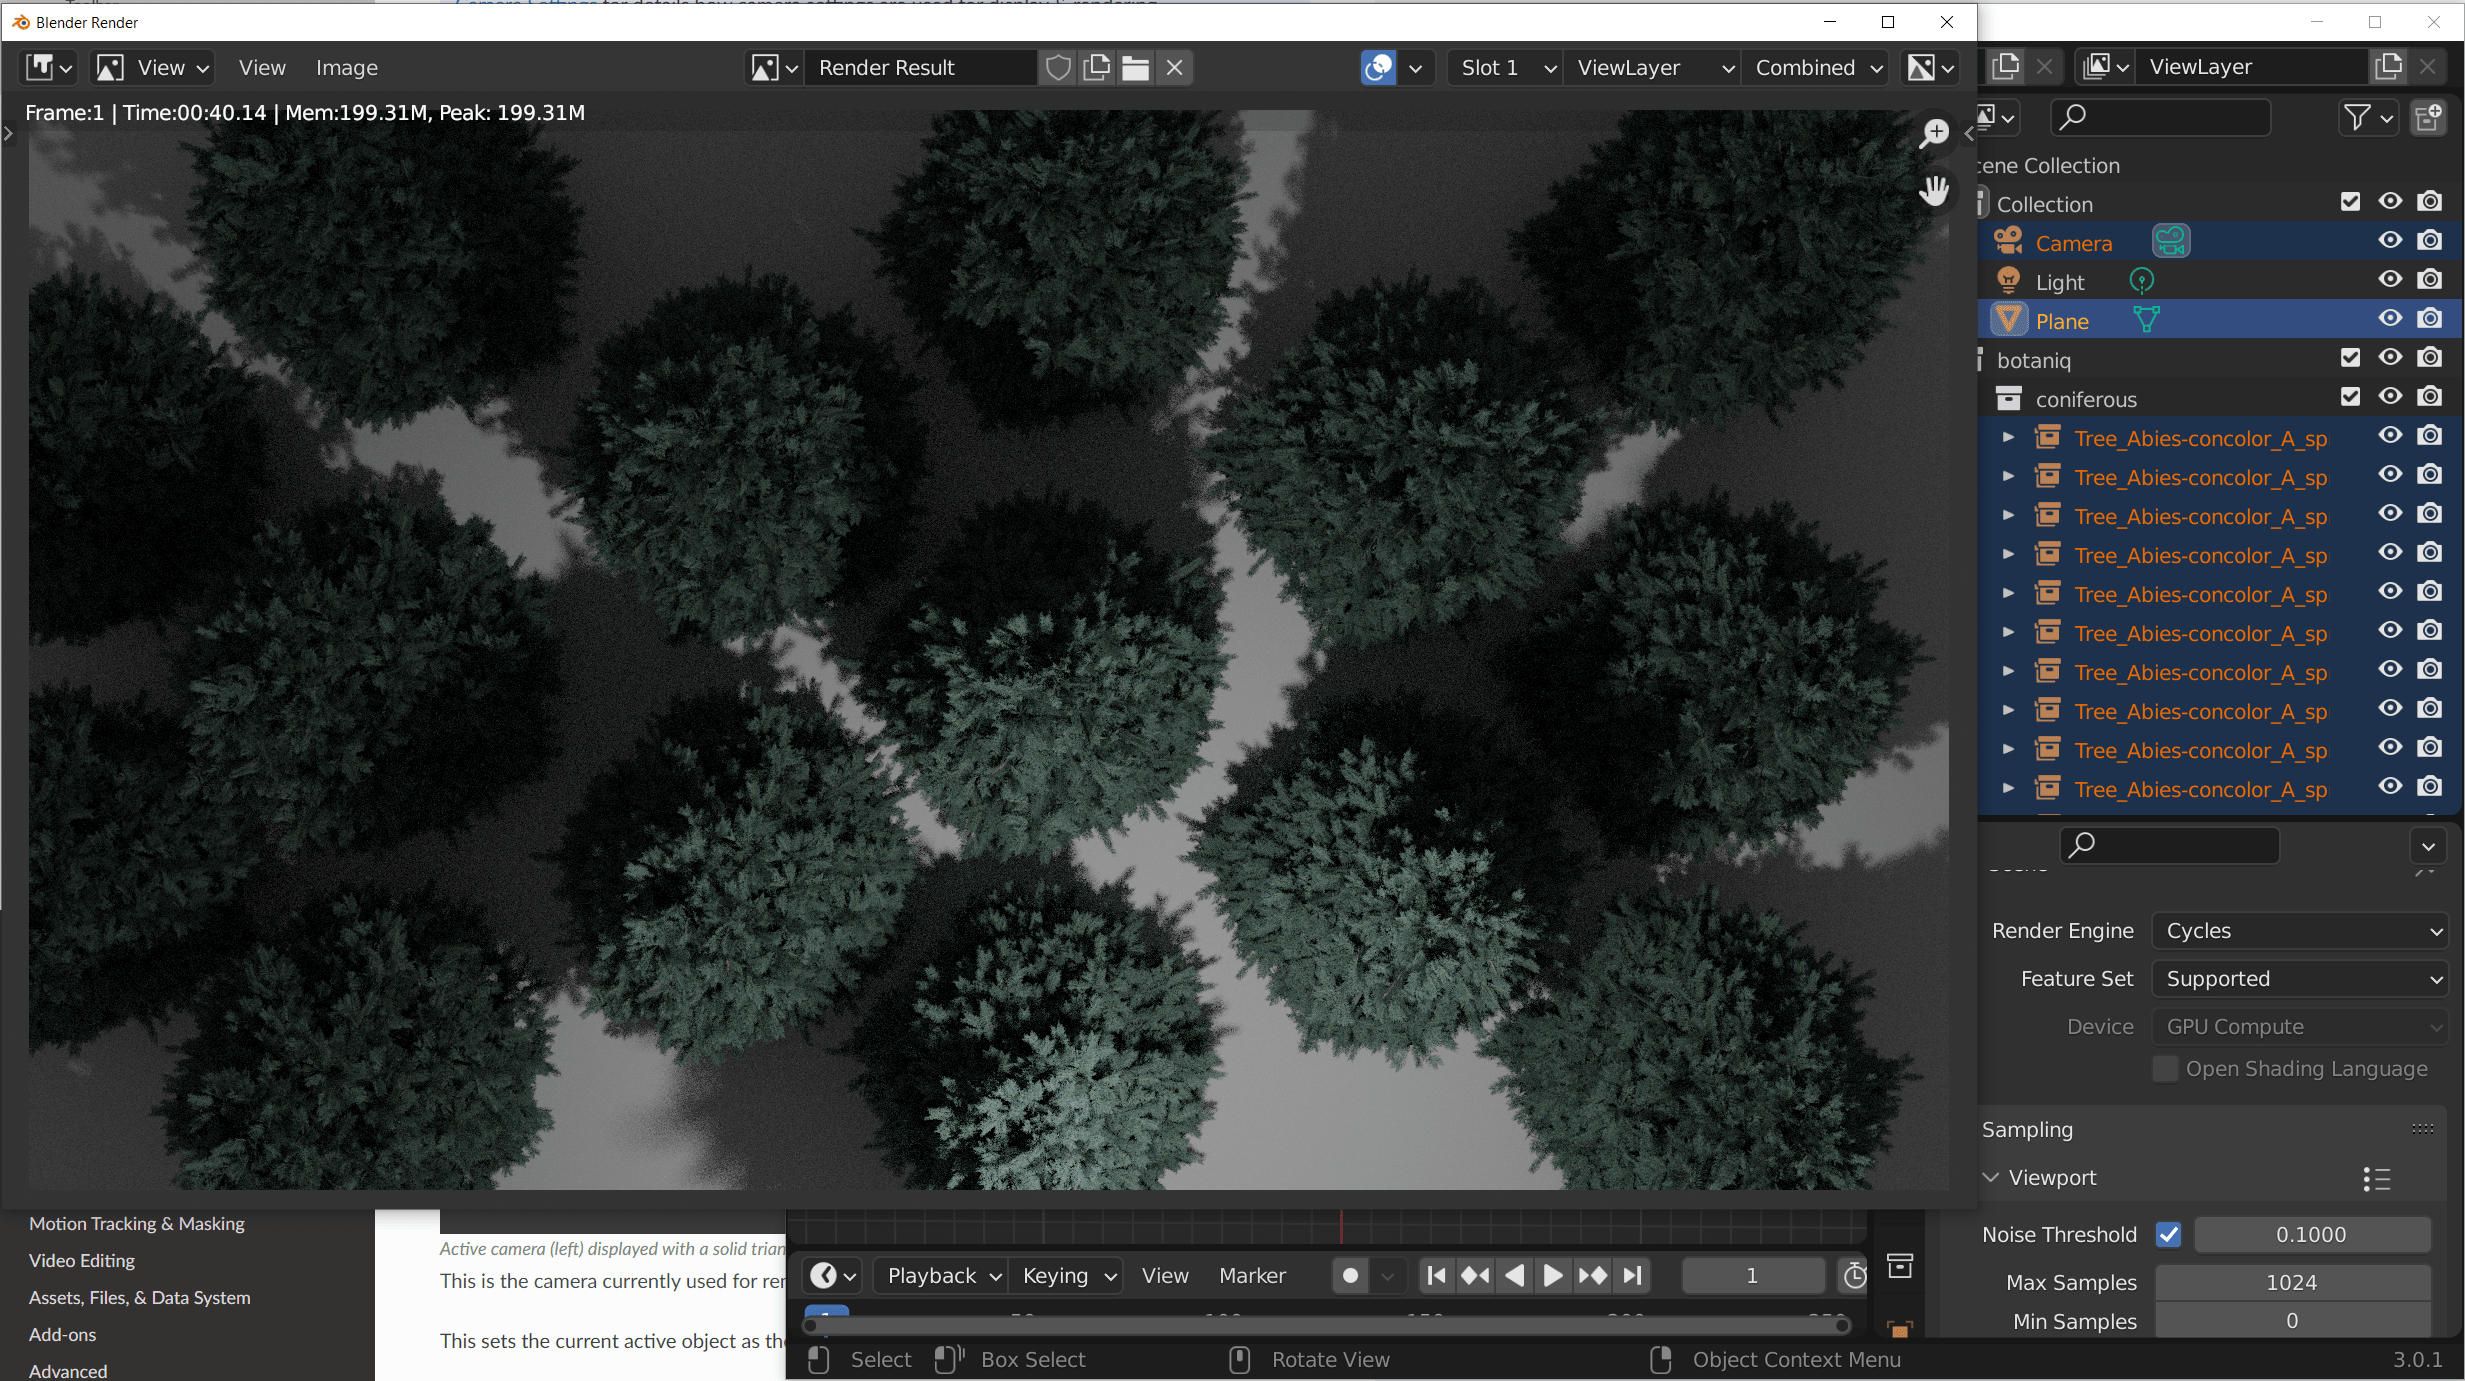
- Check that Render Engine is set to Cycles and hit Render -> Render Image. RAM usage will be around 200 MB in our example.
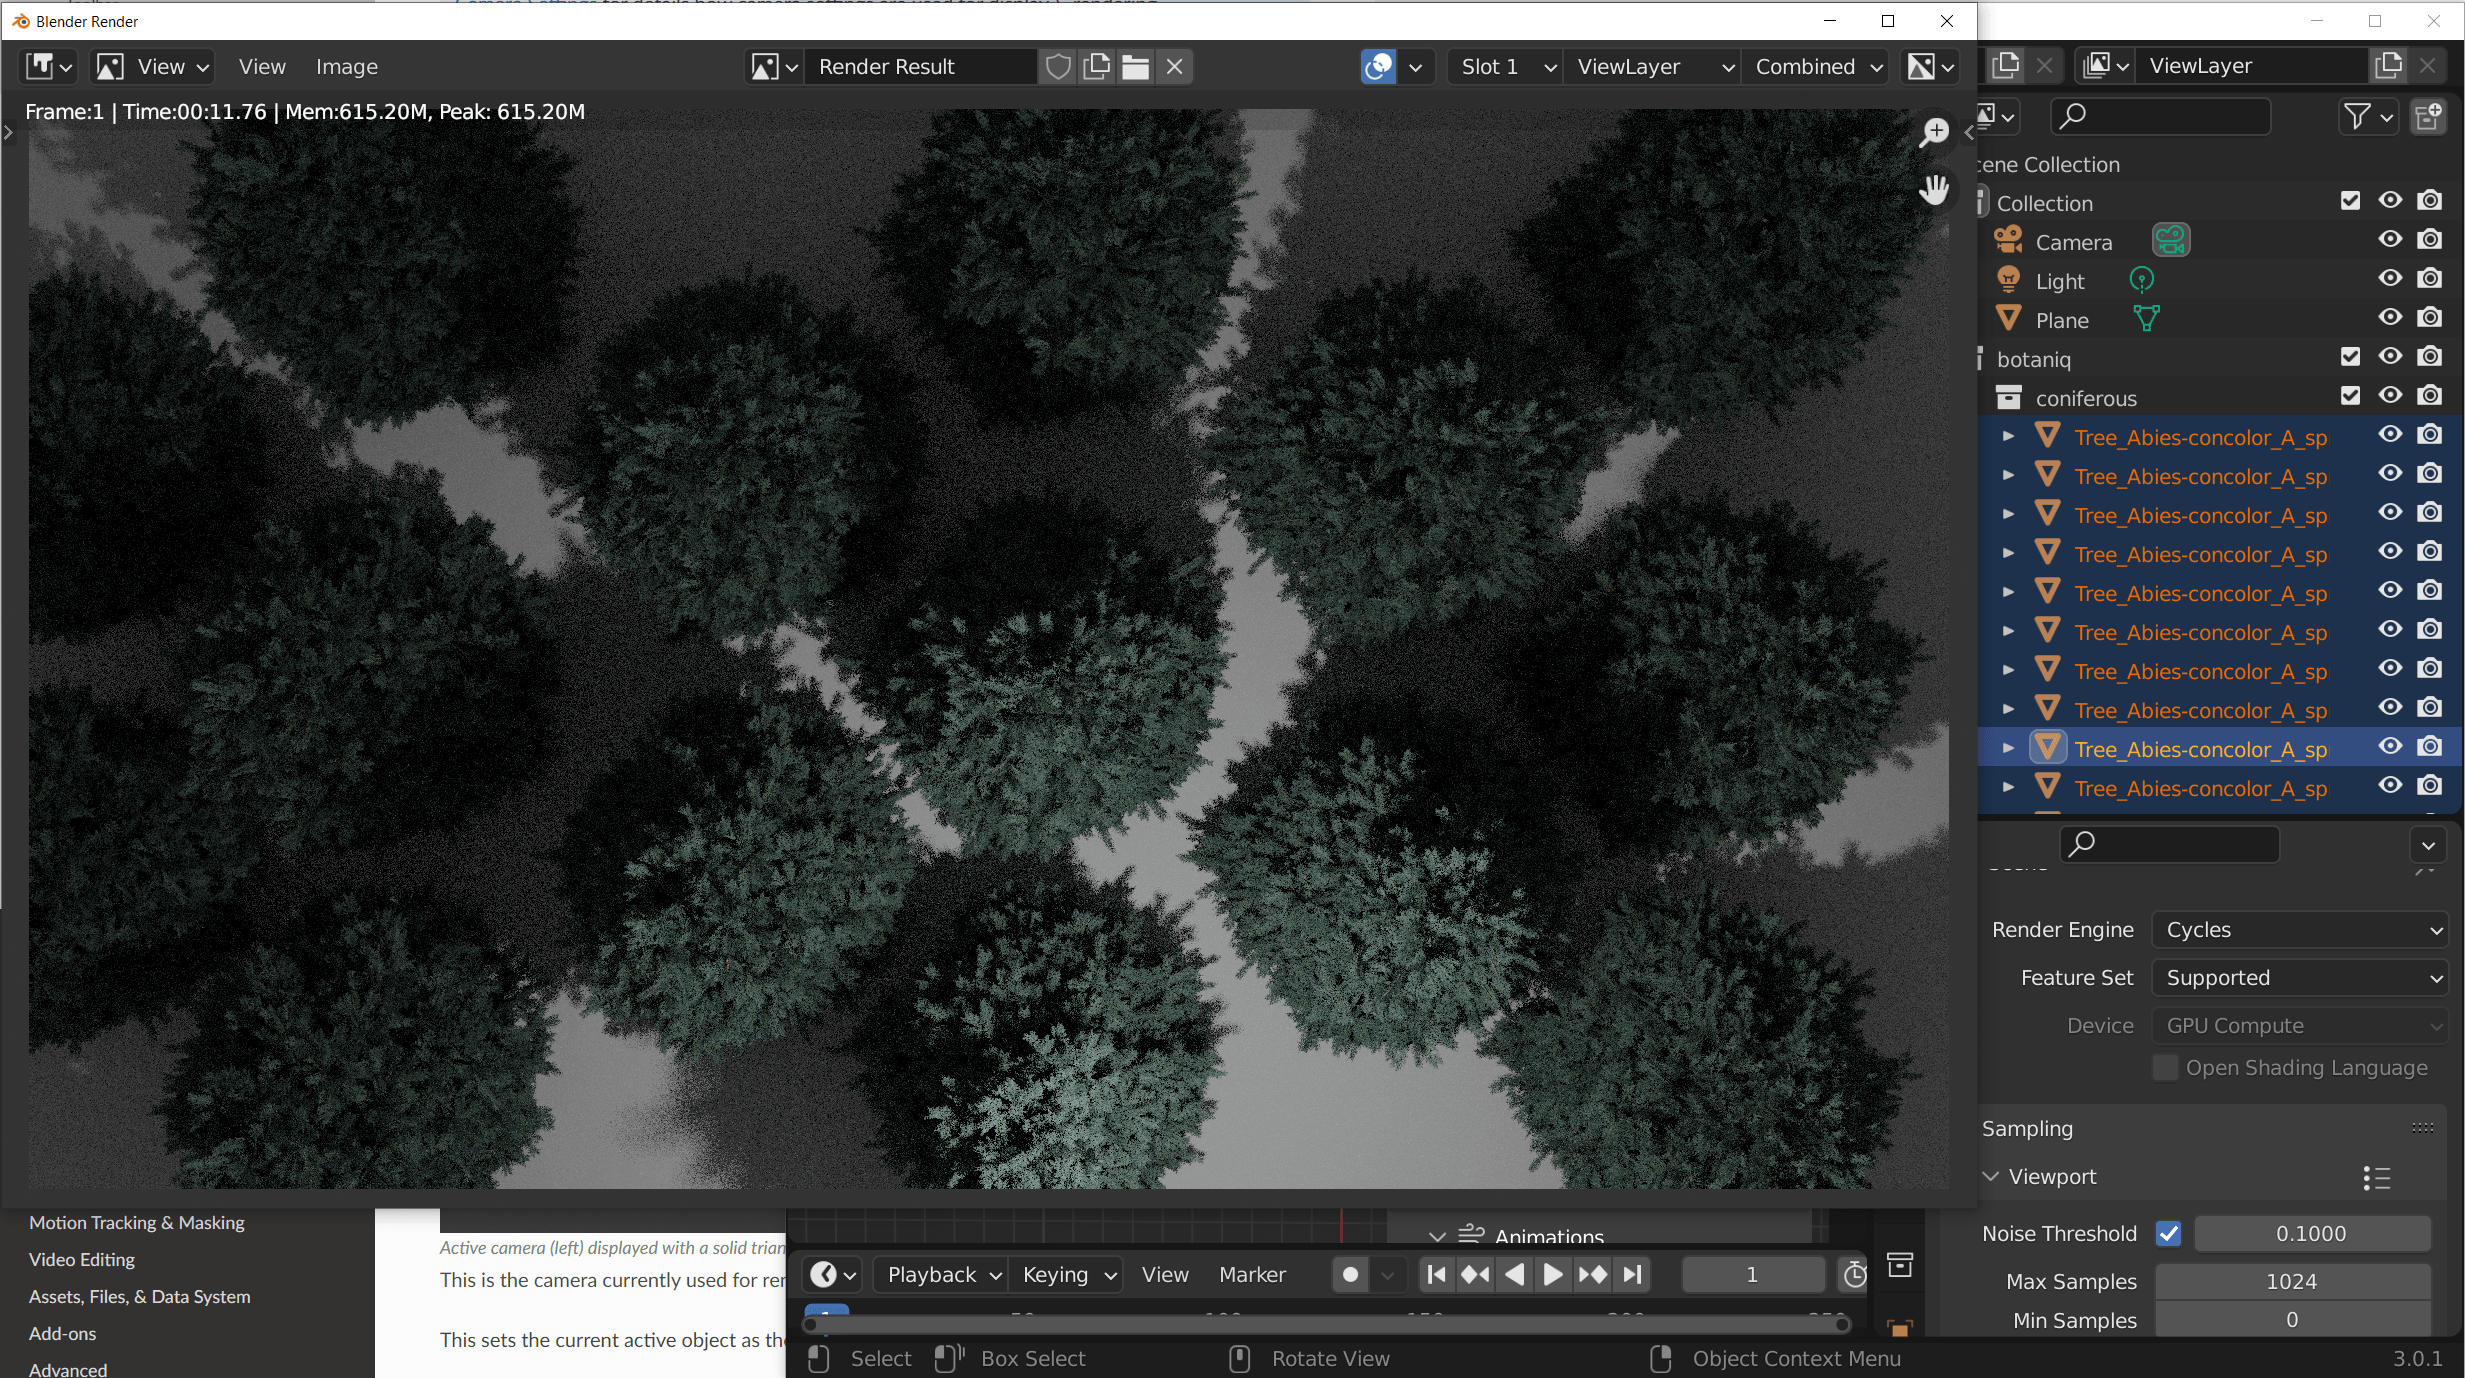
- Select all trees and click on
Convert to Editable. Hit Render -> Render Image. Notice that the resulting image is exactly the same but RAM usage more than tripled! Now it's over 600 MB.
You would expect Cycles to figure out that you are using exactly the same meshes and materials,
etc... but it doesn't. You have to tell it that the trees are exactly the same to get the RAM savings.
The most reliable way to do that is with linked assets. If the assets are linked and are linking
the same source .blend file they have to be exactly the same.


File compression
Blender allows you to use file compression on .blend files it saves. At the cost of taking more CPU time to save the resulting files are smaller, sometimes a ton smaller. This is especially helpful when you have a lot of complex geometry in the scene.
Compression and big library blends
If you are linking one datablock from a huge library it is worth it to avoid compressing it. Blender has to load the entire compressed file to read it but it is able to only read a small part of an uncompressed file, in some cases.
Compression faster since Blender 3.0
Since Blender 3.0 .blend file compression is much faster because Blender switched from zlib to Zstandard for the compression algorithm.
Motion blur computation optimization
Official Blender Documentation
Motion blur is a computationally expensive effect to calculate on high poly mesh.
To optimize performance, it is recommended to use motion blur only where it is necessary.
Example use case: An animated car in a scene with animated hero asset trees may cause longer calculations due to the computing old and new frame of each tree. To improve render performance, consider turning off motion blur for the trees.

Motion blur can be easily enabled or disabled in the Object Properties
- Select the
objectin your scene that you wish to enable or disable motion blur for - Locate the
Object Properties panel - Look for the option labeled
Motion Blur - Toggle the
checkboxto turn motion blur ON or OFF for the selected object
By using this method, you can selectively enable motion blur on objects that benefit from the effect while disabling it on objects that do not require it, resulting in a more optimized workflow and better performance.