Panel Overview
The traffiq panel is located on the right side of the 3D viewport window. It is the main way
to access traffiq features and assets. To access the side panel press the N key on your keyboard
and select the polygoniq tab.
If you have multiple polygoniq add-ons enabled they will all be shown here
Warning
If you do not see the panel or do not see any panels at all, check that traffiq is enabled in Preferences → Addons.
Warning
Most of the operator buttons only work if you are in Object Mode. Usually you can press
Tab to switch between modes.
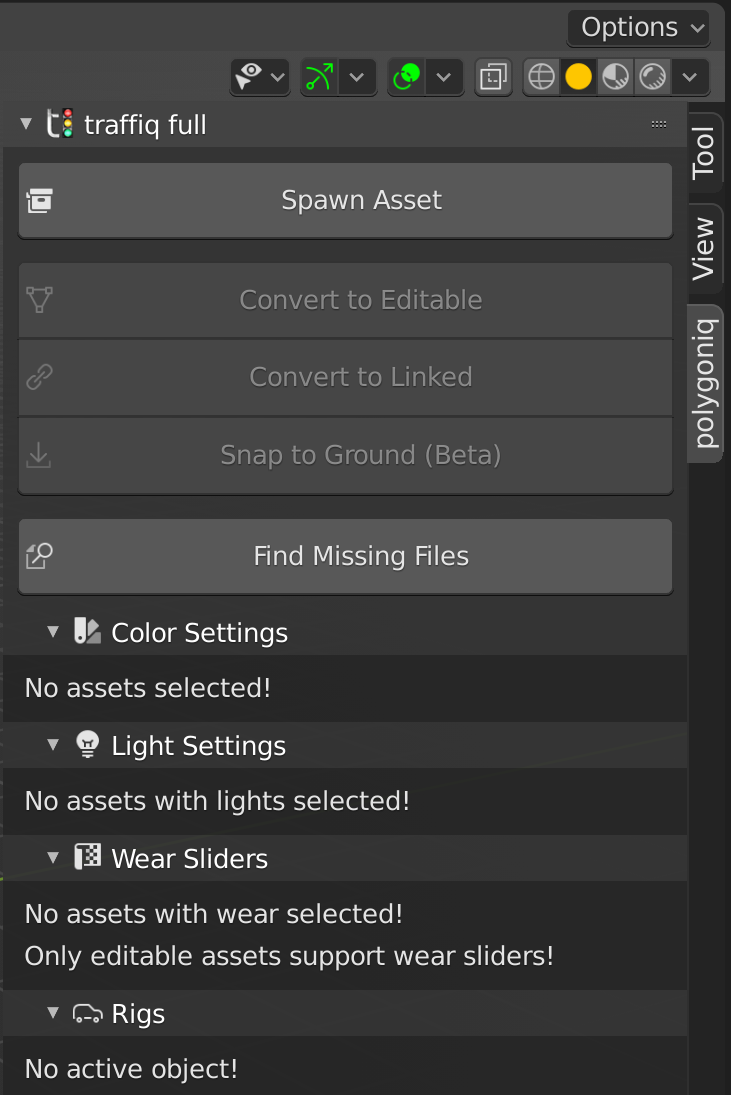
Quick Overview
Let's briefly take a look at the various options here. We will go over more details on pages
dedicated to some of these features, consider this just a quick overview of what's possible
with the traffiq panel.
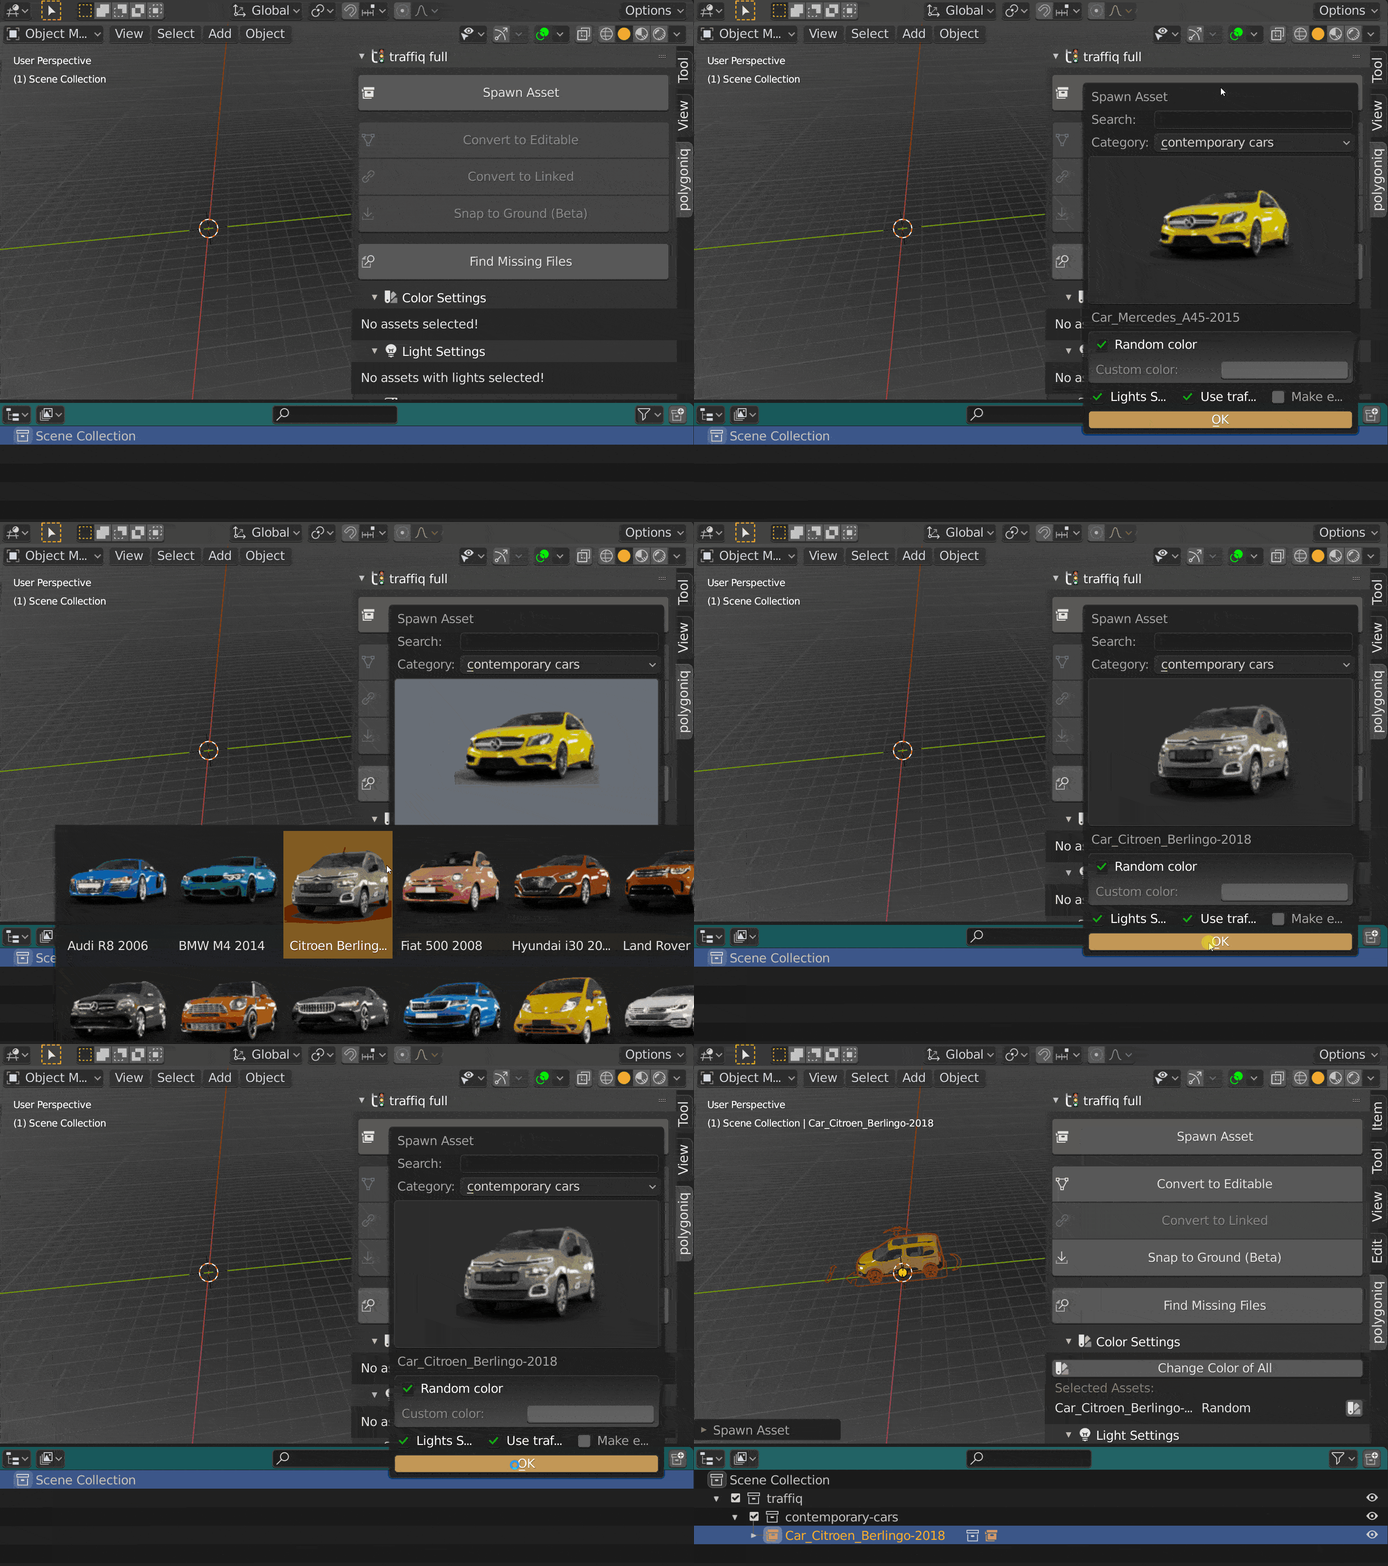
The panel spawns overlapping dialogs
These features are implemented as Blender operators. In some cases, trigerring them will
spawn more dialogs.
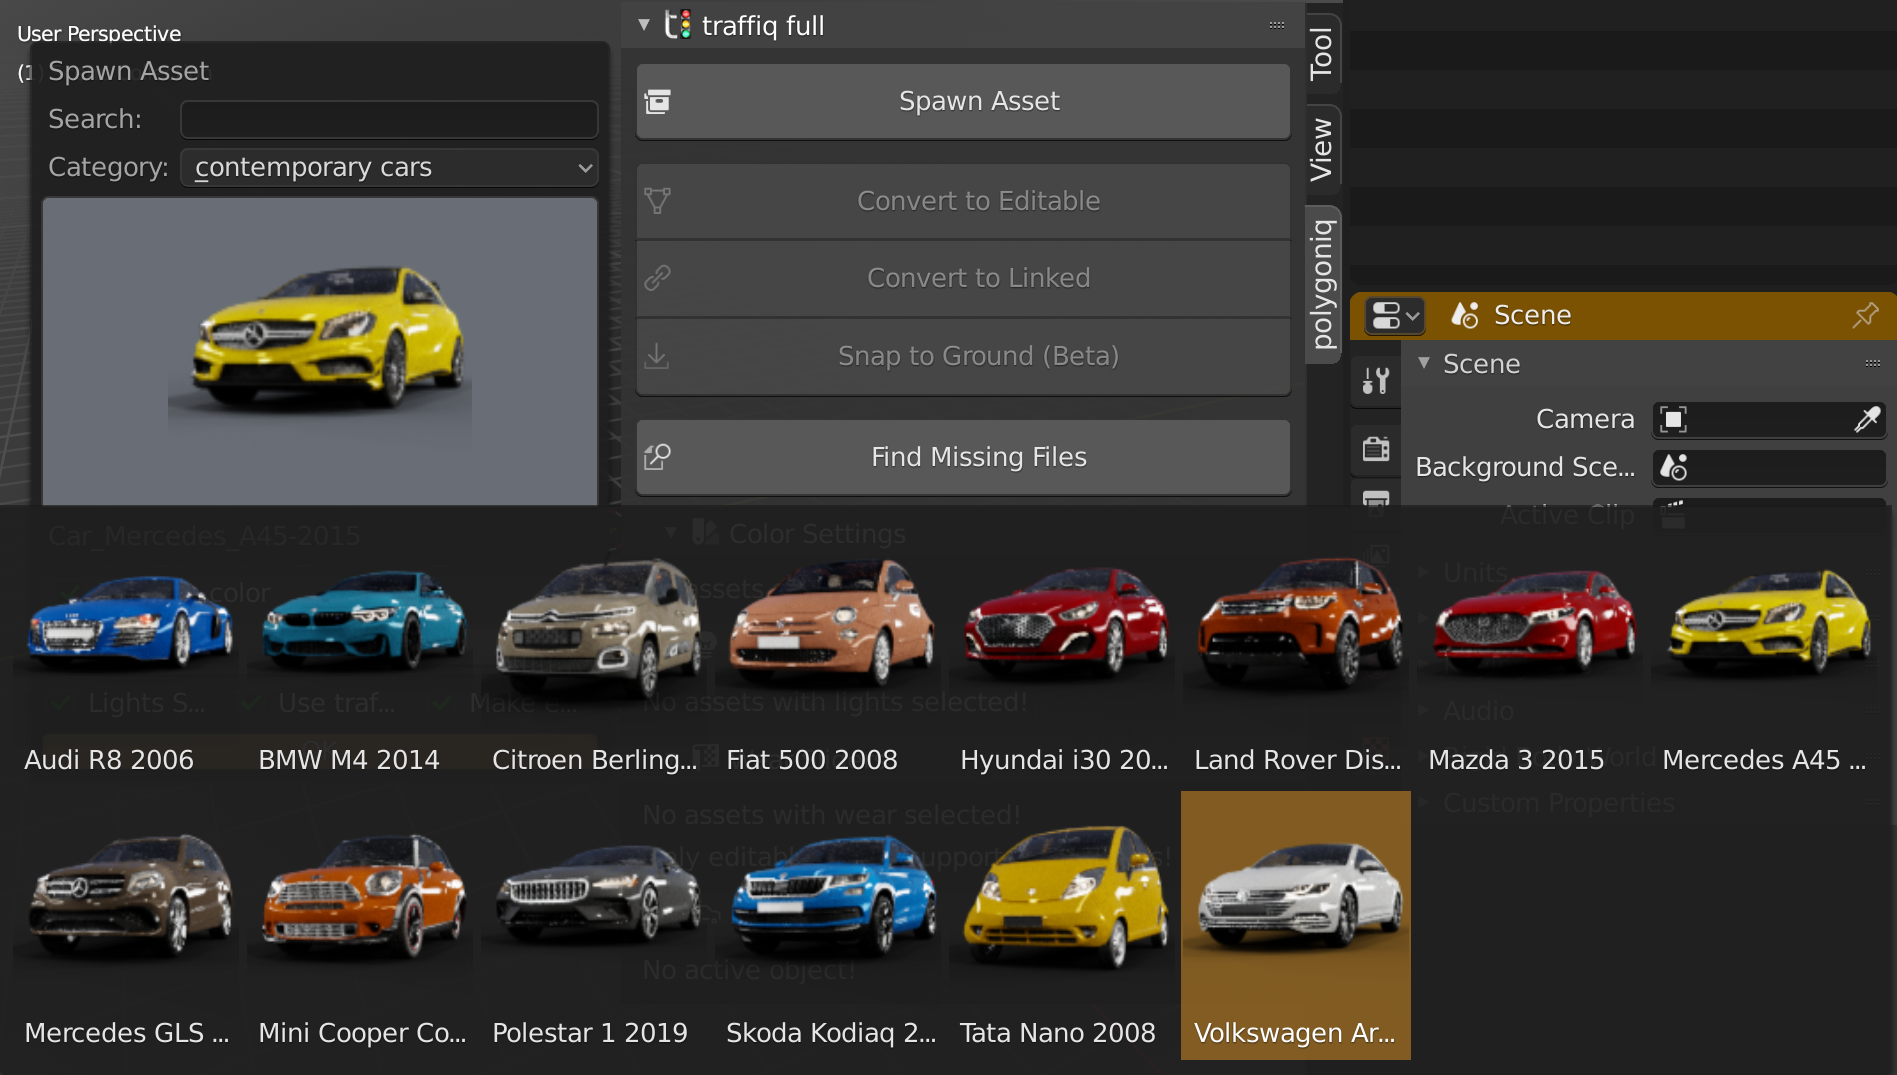
Spawn Asset
Depending on settings, this either links a new asset into the scene or spawns it as an editable asset.
Convert to Editable & Convert to Linked
- Covert to Editable - converts any traffiq asset to editable, this makes it local and allow user changes.
- Convert to Linked - converts any editable traffiq assets to linked, saves memory, speeds up renders but disallows user changes.
Converting to linked will revert all changes you have made to the asset
Snap to Ground
Snaps selected assets to the nearest object under them.
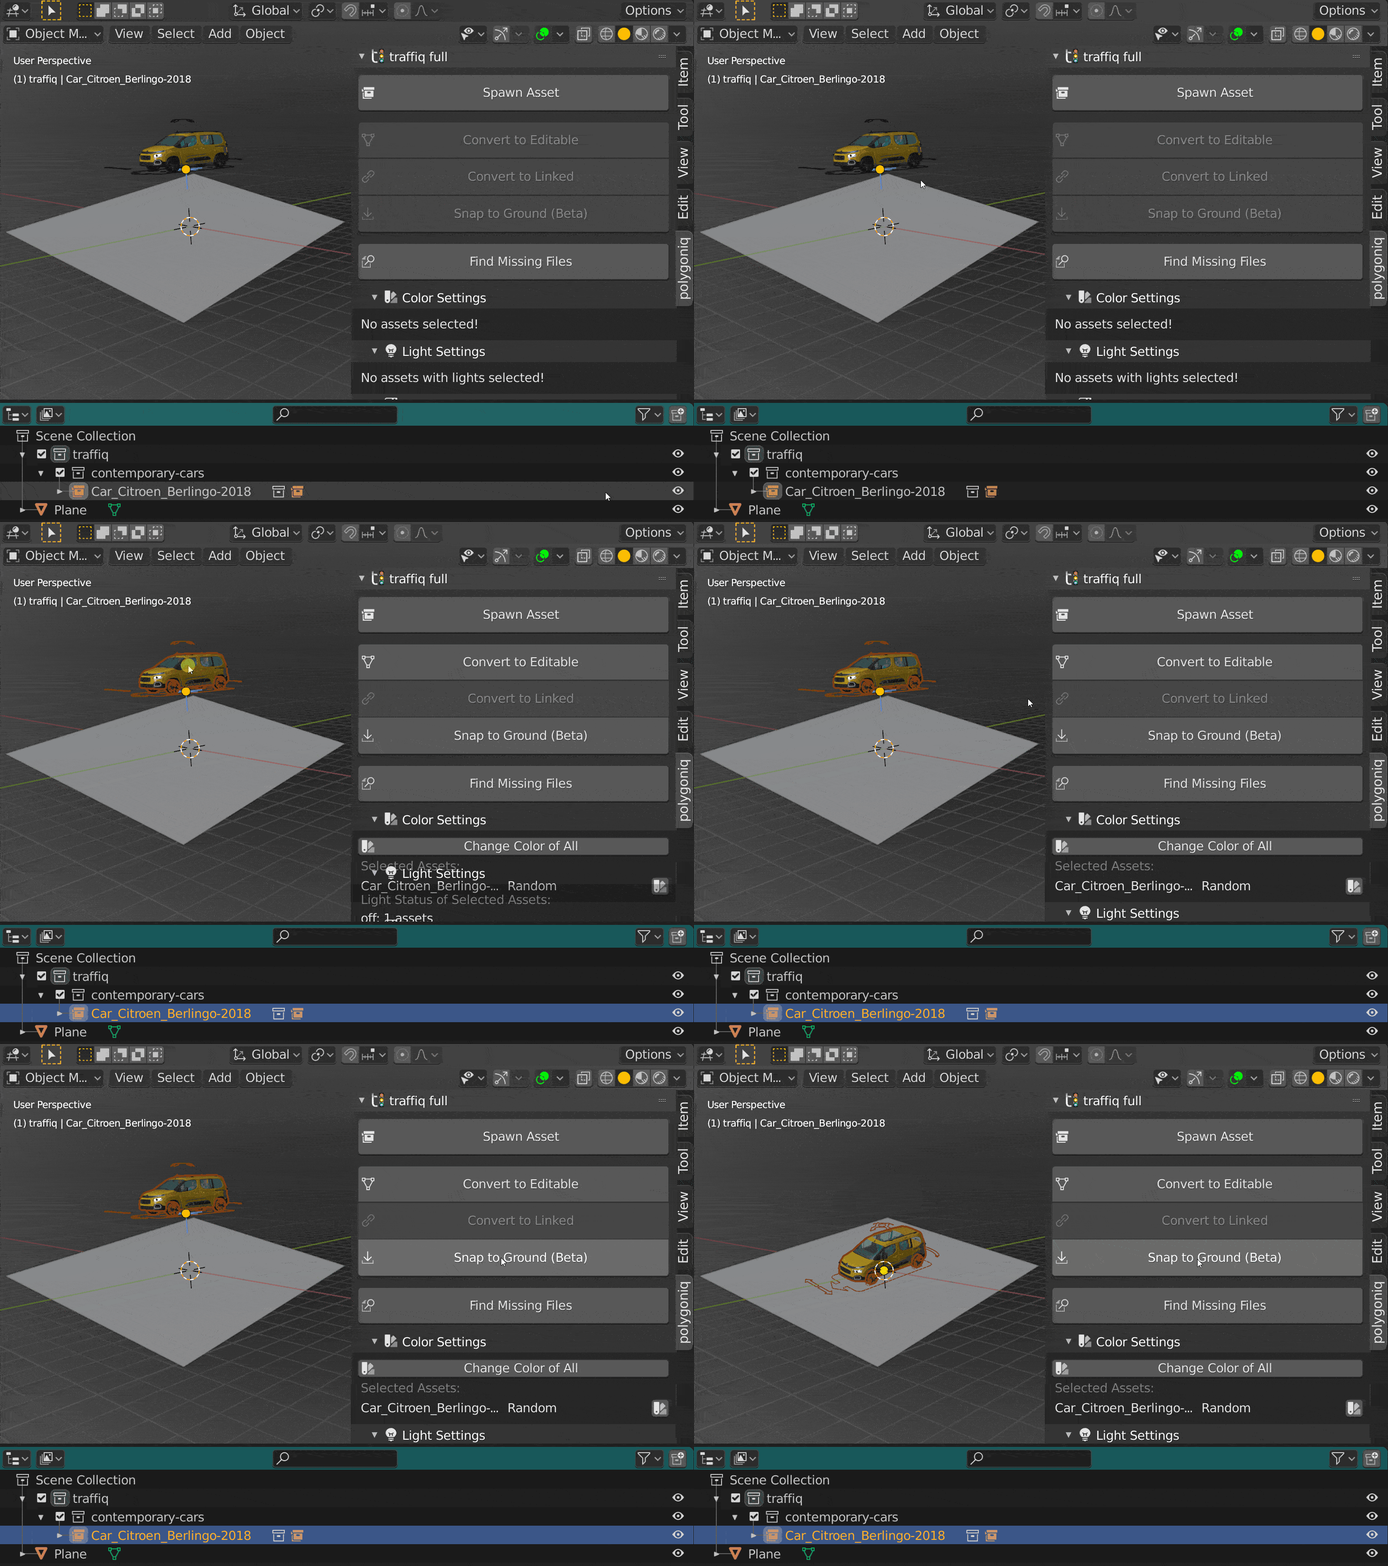
If there is no surface under the vehicle, nothing will happen
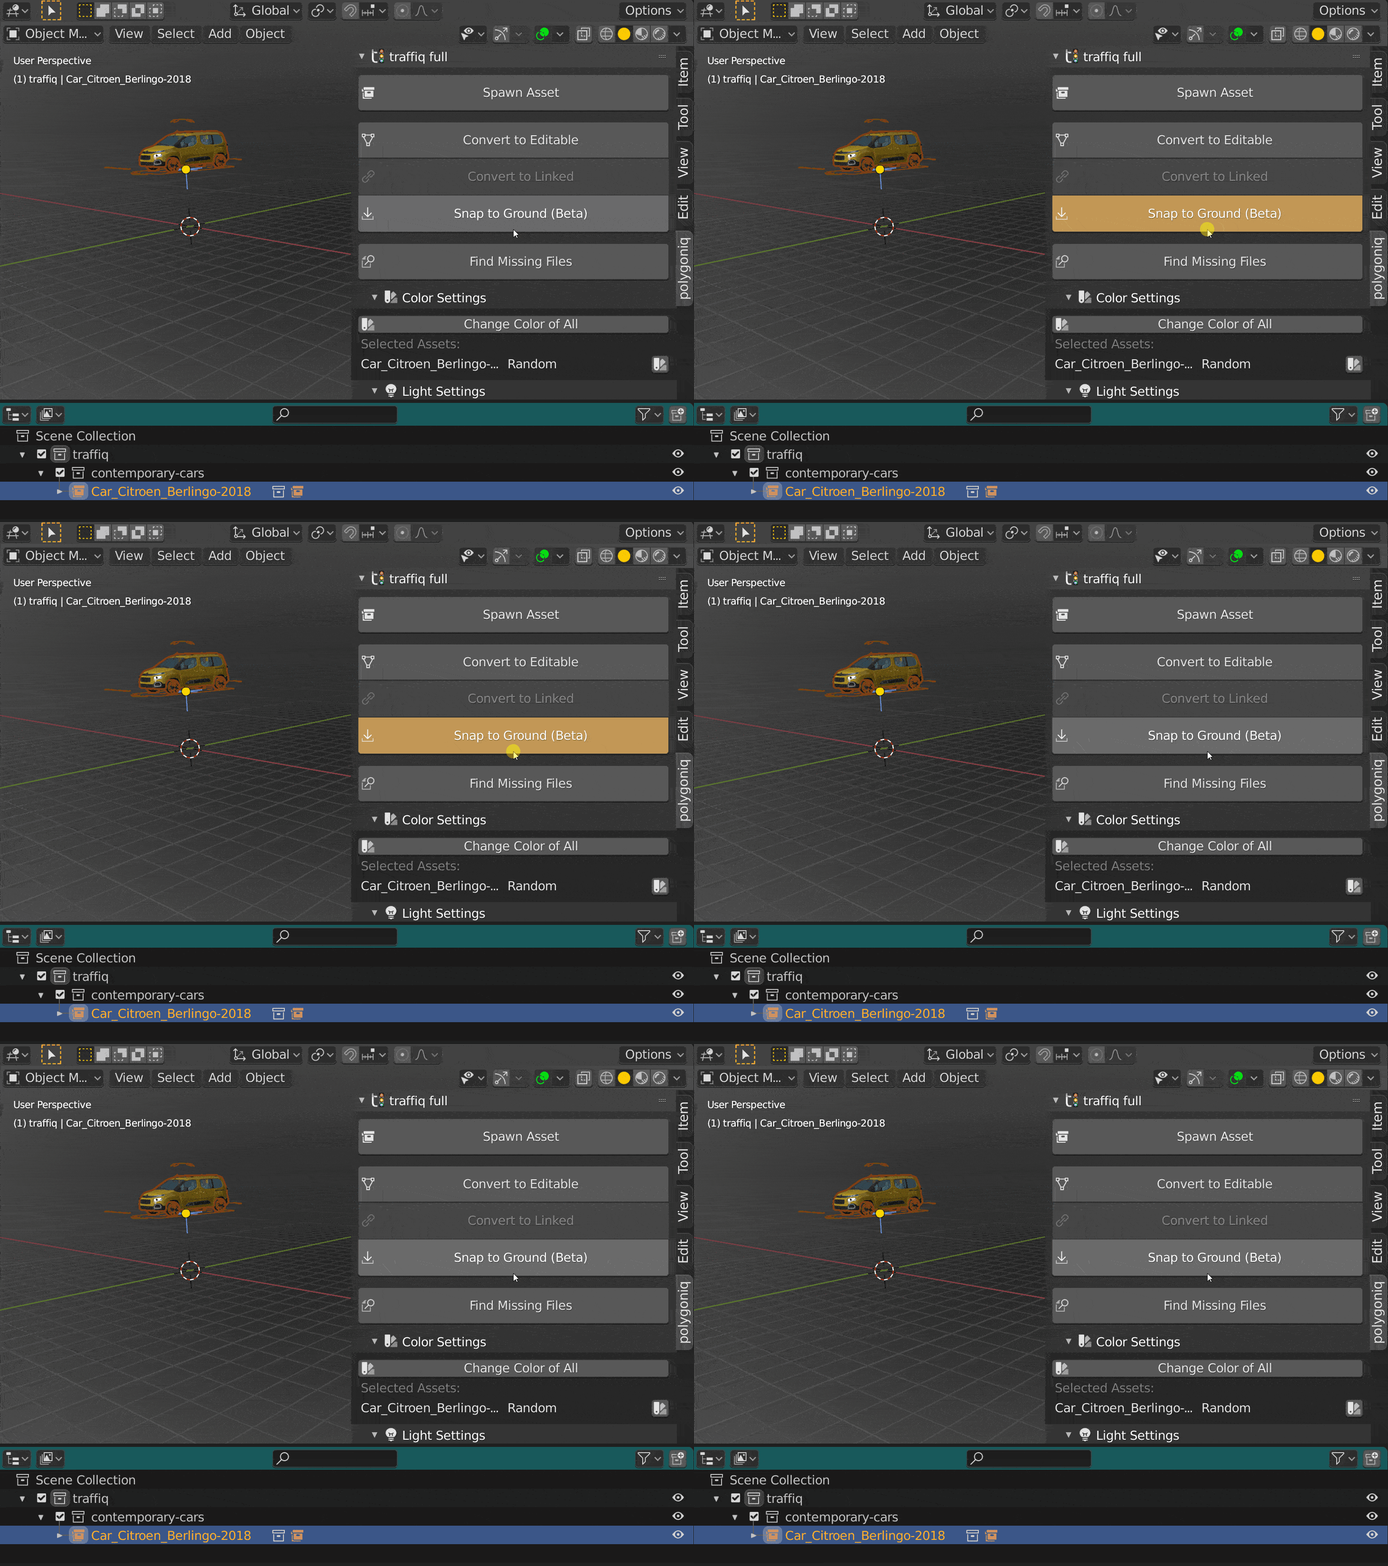
Find Missing Files
Runs Find Missing Files on any traffiq assets in the scene, uses traffiq installation to find
missing files. You can use this to fix paths when sharing blend files across computers where
the traffiq install path does not match.
Color settings
Tweak the color of selected assets or set them to random color. More information can be found in the Color Settings chapter.
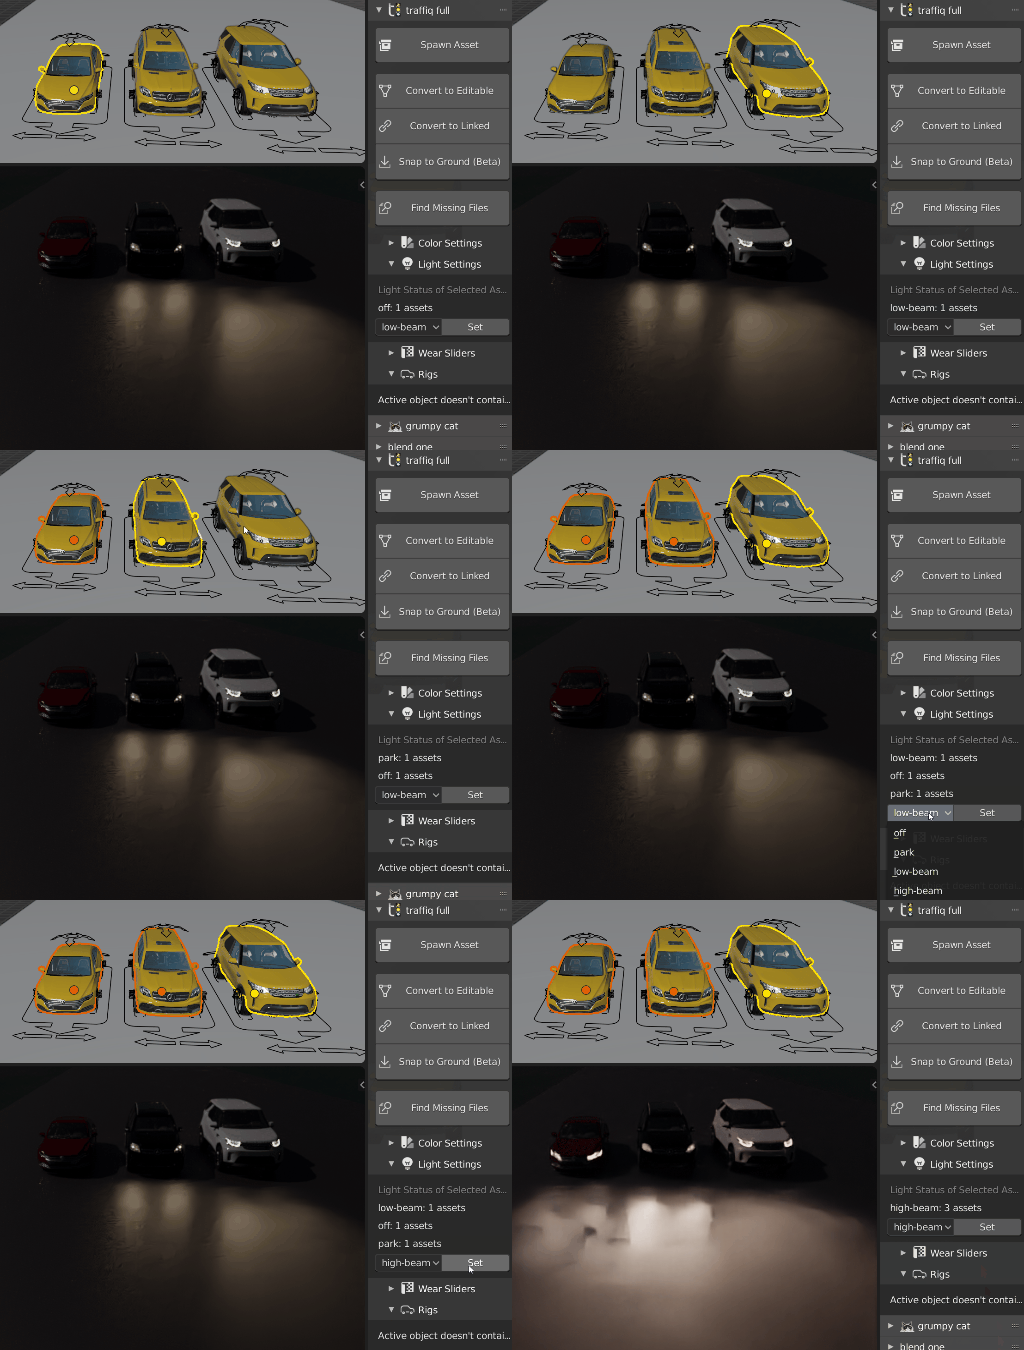
Light settings
Set the intensity of lights of selected assets. More information can be found in the Lights chapter.
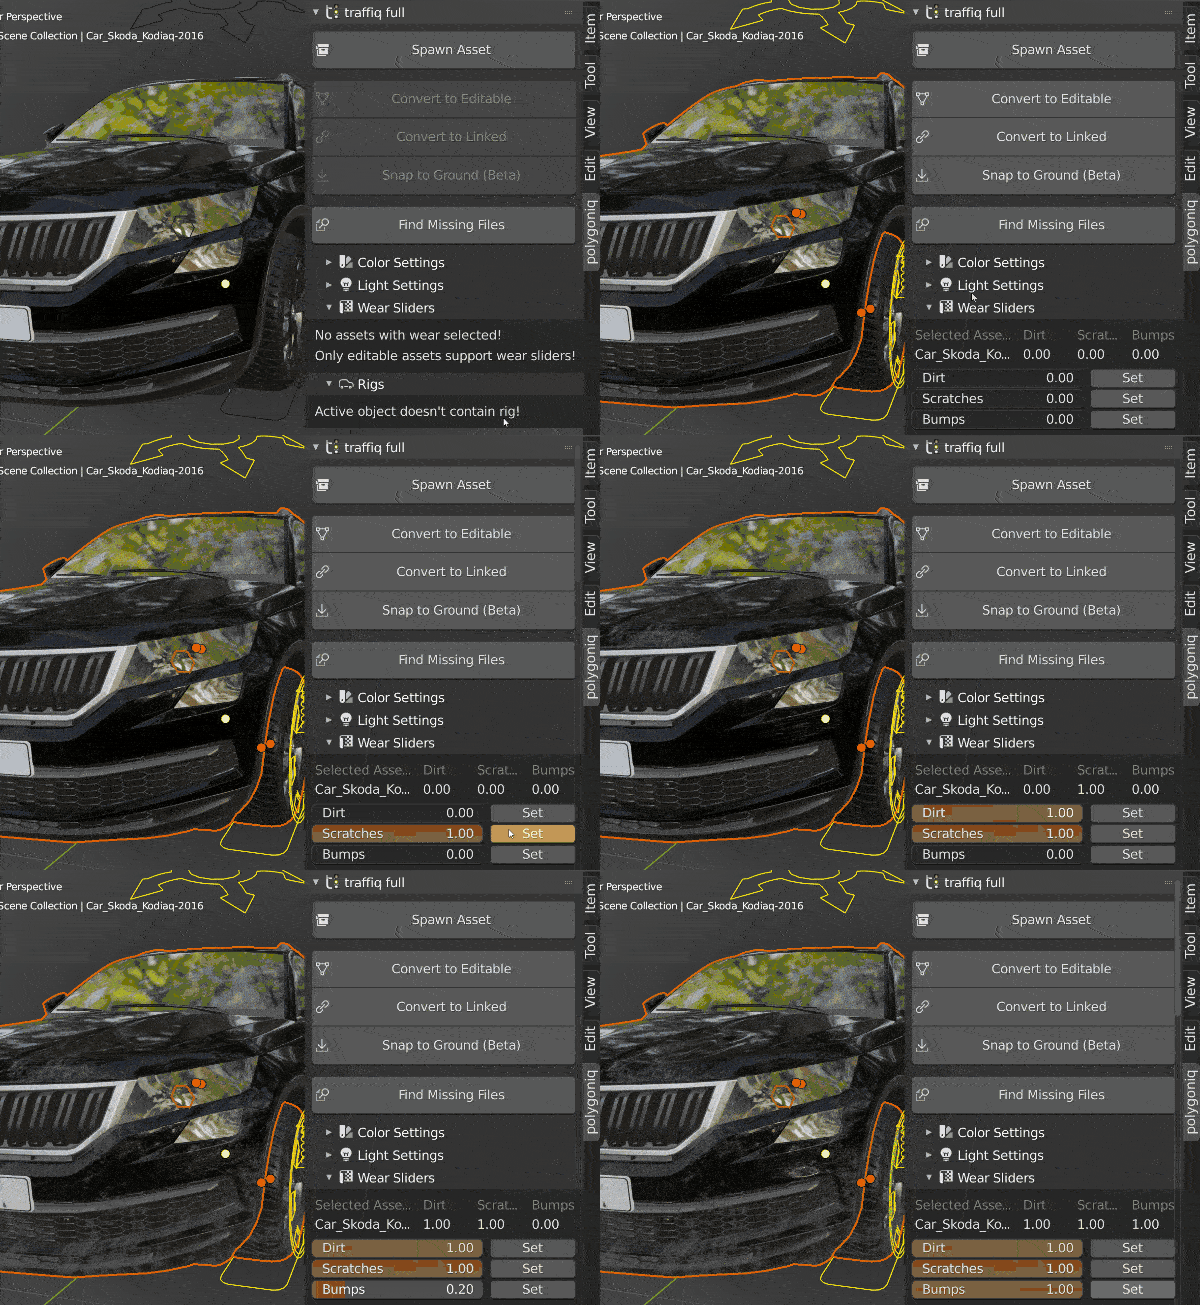
Wear Sliders
Set the intensity of dirt, scratches and bumps of selected assets. More information can be found in the Wear Sliders chapter.
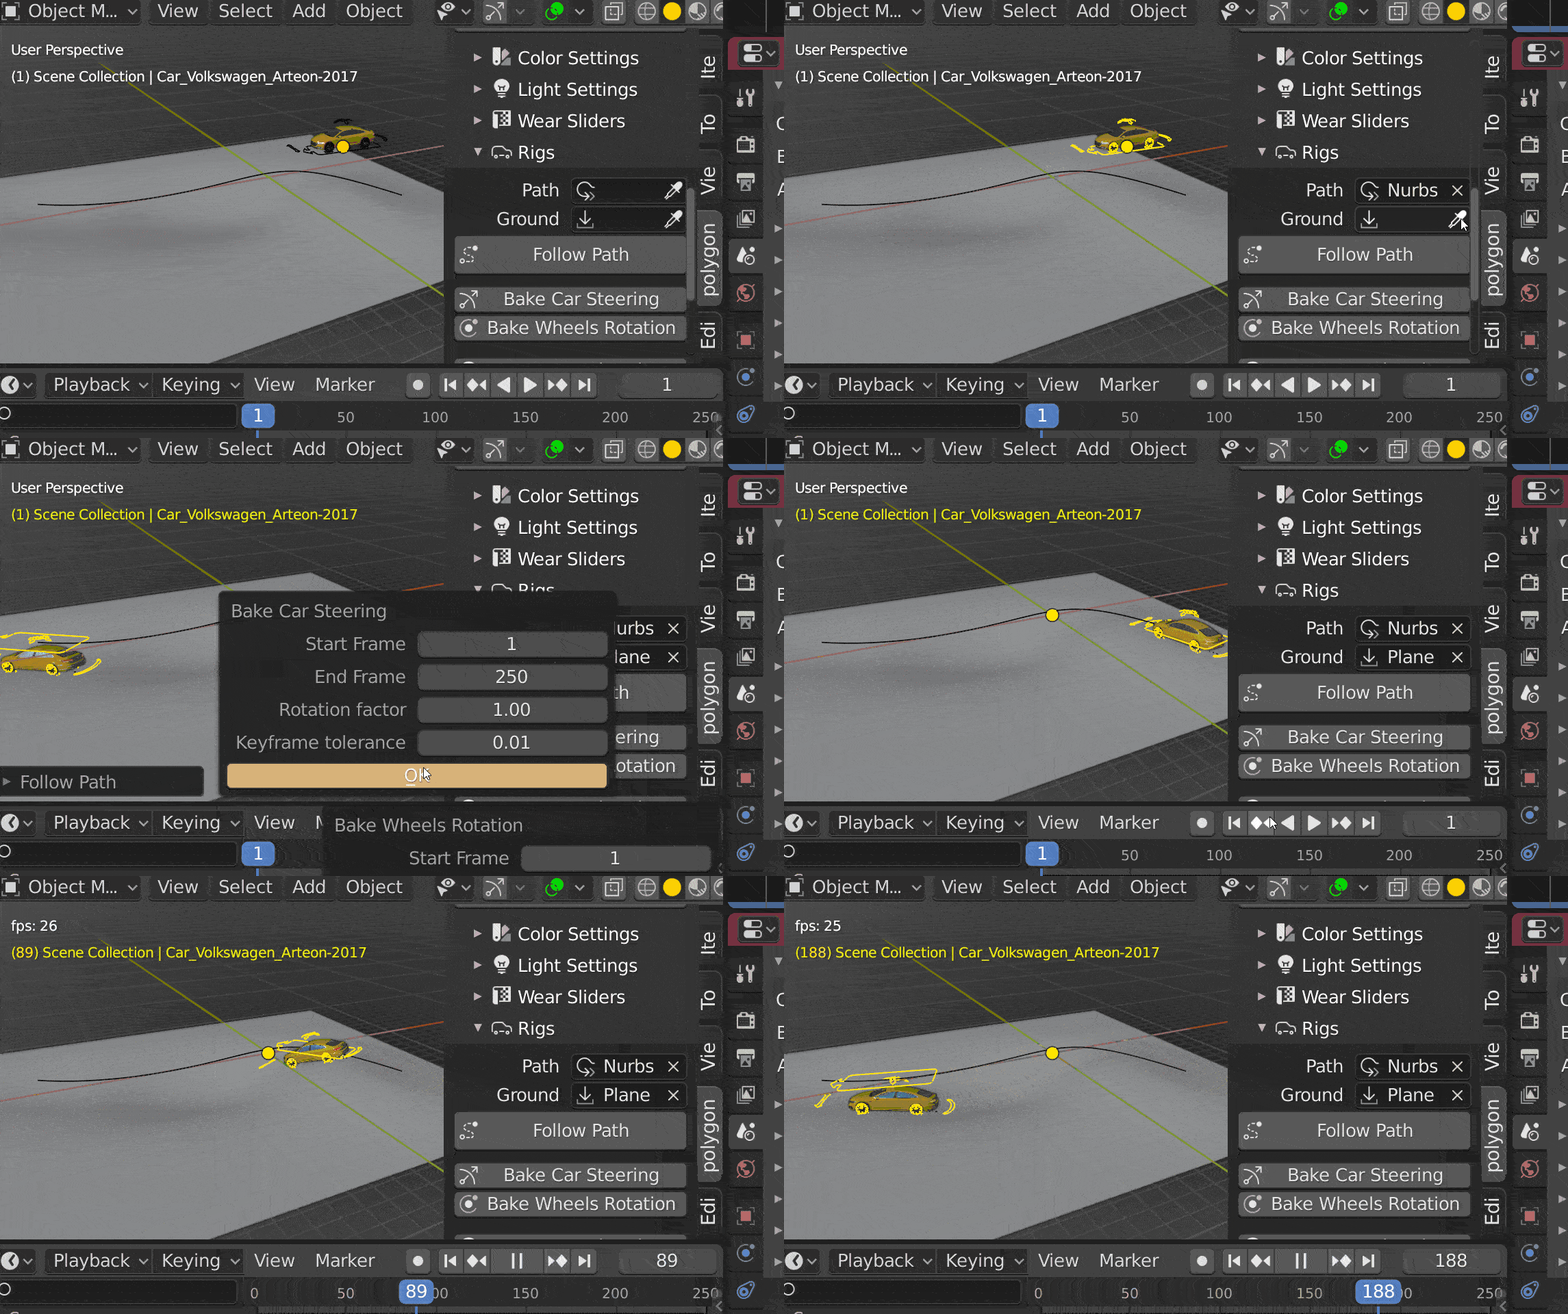
Rigs
Add animations to assets and control the rig properties. More information can be found in the Rigs chapter.
