Rendering And Outputs
Renderset can change the way you render in Blender. Outputs are auto-saved into pre-set paths, results are stored in render slots. The functionality is tailored towards maximum productivity.
Renderset does not replace the native render operators
Instead of taking over the rendering operators in Blender, renderset adds new ones. You can use the usual Render → Render Image and Render → Render Animation but many of these features will not work if you do.
Supported render engines
renderset supports Cycles, Eevee, Octane and LuxCore out of the box. Cycles and Eevee are included in Blender. Octane and LuxCore are third-party optional renderers.
Render Current
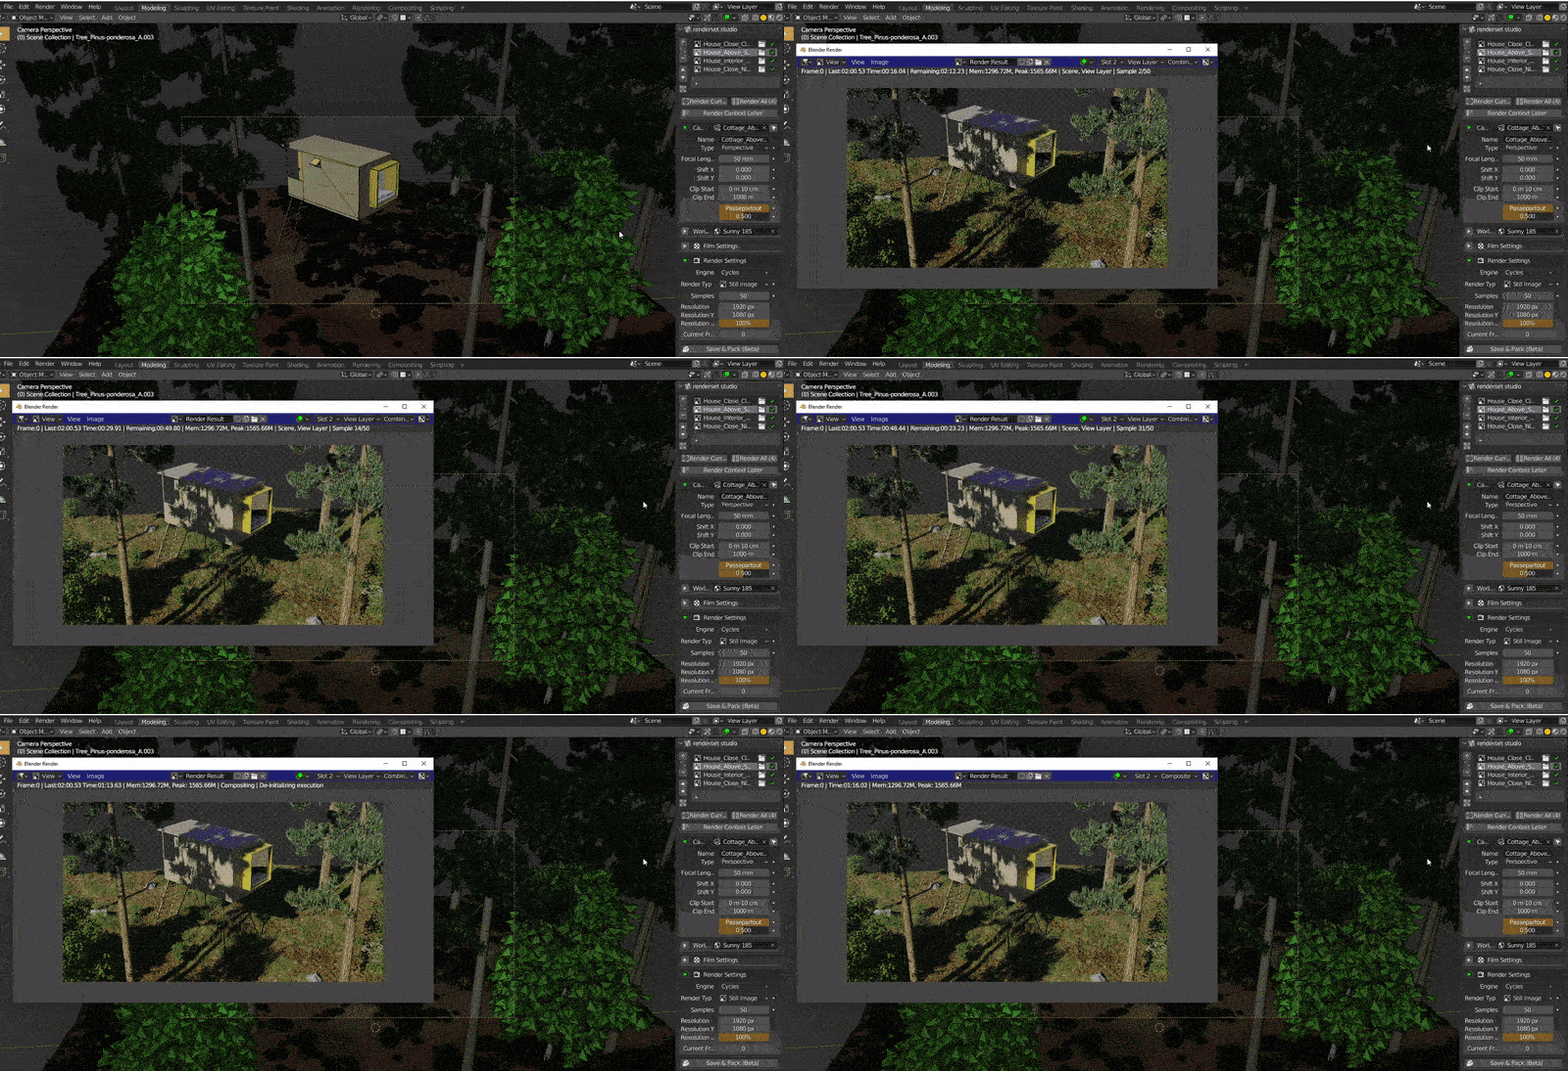
Use this button to render only the render context that is currently active. The context is rendered even if its checkbox is not checked!
For the first 8 contexts in the panel renderset will save the results to a render slot as well. The number of the render slot depends on the order of the render context in the list - second render context will be saved into the second render slot.

Render All
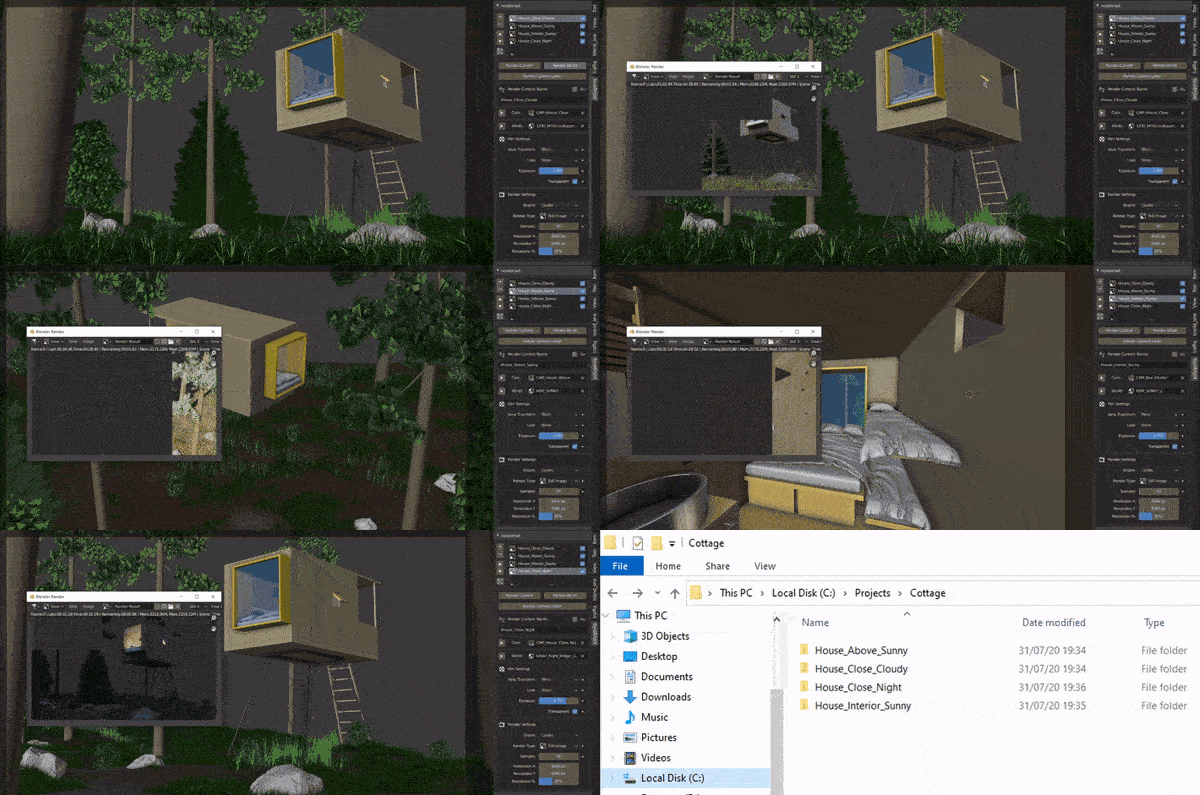
Allows you to render all "checked" render contexts in the .blend. Results are saved to paths
set in Preferences. The first 8 render contexts in the list will also be saved into render slots..
Keep in mind that the render slot ID depends on the order in the list, unchecked contexts are not
skipped! If you have 8 unchecked contexts and then 8 checked, no contexts will be saved into render
slots when Render All is pressed!
This is especially useful for those overnight renders because renderset will take care of context switching. You can keep the computer rendering, come back and just retrieve the results.

Output Paths
Setting up output paths is crucial for optimal workflow. Renderset allows a lot of flexibility. The core principle is that each context outputs into one folder. You can choose the path of that folder but not of the filenames inside.
To set the path, go to Edit → Preferences → Addon, find renderset and expand the Preferences.
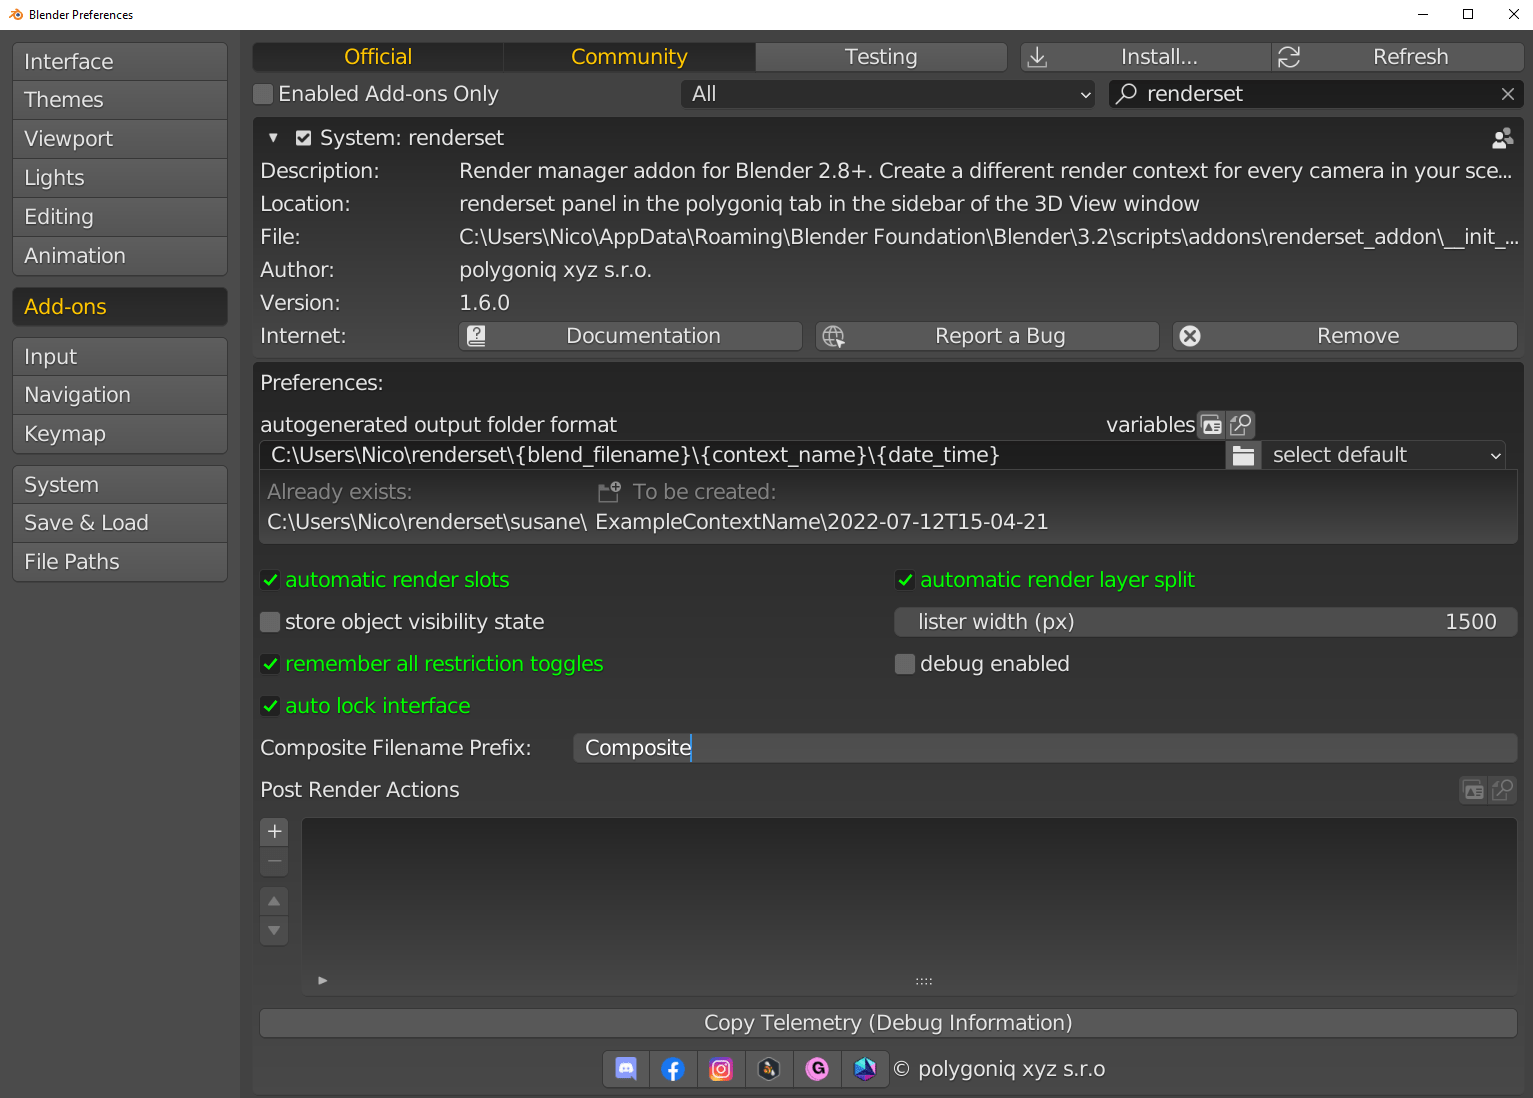
You should see:

Let us focus on the autogenerated output folder format. This setting allows us to set the output
path of render contexts and lets us mix plain text with variables. This way we can use context names,
date and time and other variables in the path. Renderset will replace those tokens with actual values.

To get you started renderset ships with three folder path examples. One outputs to a path relative to the input blend, the second outputs to an absolute path of your choice, the third one showcases custom formatting options for date and time. We recommend experimenting with these three and mixing them to achieve your desired output paths. Check the Auto Folder Path documentation for more details and a list of available variables.

In preferences you will also find the Composite Filename Prefix setting. By default Blender names
the final output file as Composite, but some users prefer to rename it to keep consistency with other
software they use. Changing this value will change the name of the main output file, which is
'Composite' by default, to the name you have chosen.
Post render actions
You can further automate your workflow by setting up post render actions. These actions are triggered whenever a context finishes rendering. They even allow copying output files which lets you change the filename as well.
A common use-case is copying the final Composite image to a project output folder.
See Post Render Actions for more.
Formats
Blender allows a lot of different output formats. Renderset supports single-frame formats such as JPG, PNG, EXR, multi-layer EXR. It also supports multi-frame formats such as AVI, MP4, MKV and others.
Dangers with multi-frame formats
While you can render multi-frame formats we discourage you from doing so. You may lose render results in case of a crash, you will lose quality because frames are not saved separately.
We recommend rendering animations per-frame, it is safer, you can resume much easier and you can always stich the animation together afterwards. It also lets you render different parts of the animation on different machines and stitch it together afterwards.